The best part of a project is to work with those knitting needles or crochet hooks. And as soon as the last ends are secured, you probably want to start a new project immediately. But blocking can really make a difference in your projects.
![]()
When you’re crocheting or knitting, lots of things happen that may result in your project getting a different shape than the one you originally planned 💔
Whether you’re crocheting or knitting, tension is usually one of the biggest reasons. If your tension isn’t even, your project may turn out slightly crooked. Or your tension might be even, but just a little too tight so that your sleeve doesn’t fit the sleeve hole.
And after many hours resting on a warm lap, your project might get a little wrinkly and doesn’t drape properly.
Or you may have crafted a masterpiece of a project that shrinks a little or bends out of shape in the wash 🧺
Yes, lots of things can happen that affect the final result. And that’s where blocking swoops in and saves the day 🦸♀️
Blocking is a way to stretch the fibers and set them in the desired shape. Long story short, you block an item by getting the project wet and then drying it into the desired shape.
However, there are different ways to block your project, depending on shape of the project and the yarn fibers.
Step 1: Get your equipment out
When you’re blocking a project, the right equipment can make a huge difference. With just a little creativity, you can get away with using a level surface like a bed, couch, or yoga mat. However, you’ll need needles or pins to keep your project fixed to the surface while it dries – and the surface you choose to use might develop holes over time.
That’s why I always recommend equipment that can handle being used for blocking in the long run.
You can find blocking mats on our website. These practical blocking mats can be combined to fit the size and shape of the project. When you’re done, you can separate them again so you won’t have a gigantic mat that you can’t store anywhere.
These mats are light but firm, so they hold on to the needles very well 💪
You can also buy t-pins or regular pins on our website. I prefer t-pins since the the shape of the heads makes them easy to push into and pull out of the mats.
When you need to block blankets, shawls, and other square projects
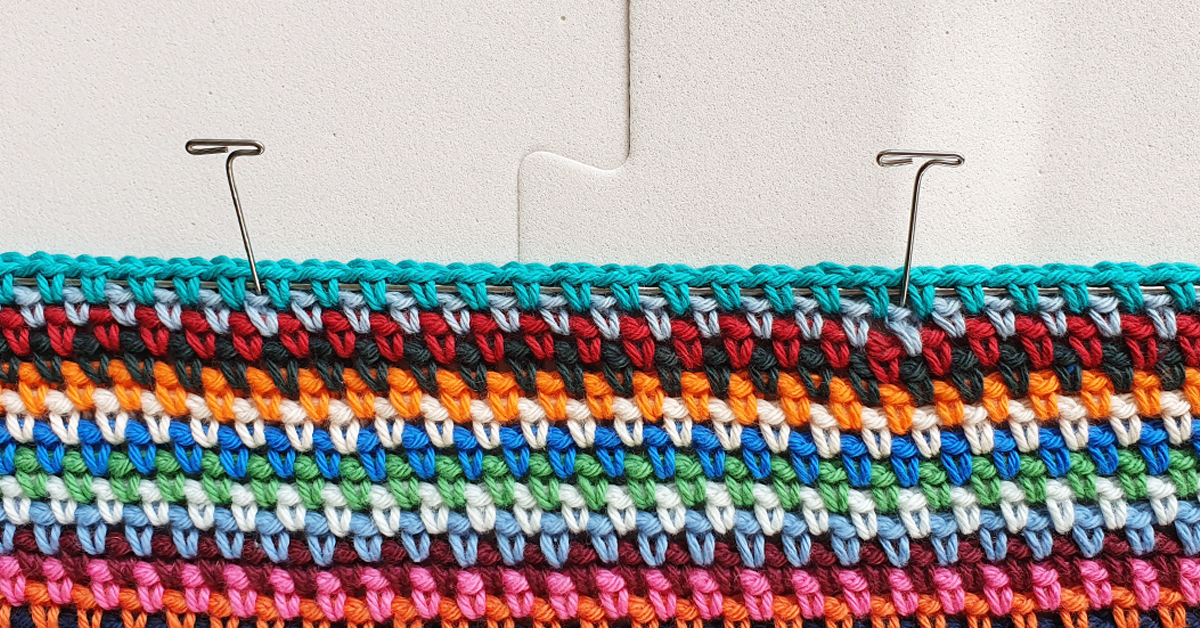
To avoid using an insane amount of pins on each side, you can use wires instead. When you’re ready to block the project, you just need to work the wire through all the outermost stitches on each side of the project.
Want to see how the wires are used? Then check out this video.
When you’ve worked the wire through the stitches, you use the pins to fix the wire to the surface. You’ll still have to use some pins, but you might get away with using 20 instead of 200.
When you’re blocking mandalas and other round projects
You can also avoid using hundreds of pins by using a flexible wire. The flexible wire can take a round shape, so you can work it through all the outermost stitches around the project. Then all you have to do is pin the wire to the surface with your pins/needles.
When you’re blocking sweaters, cardigans, and other clothes
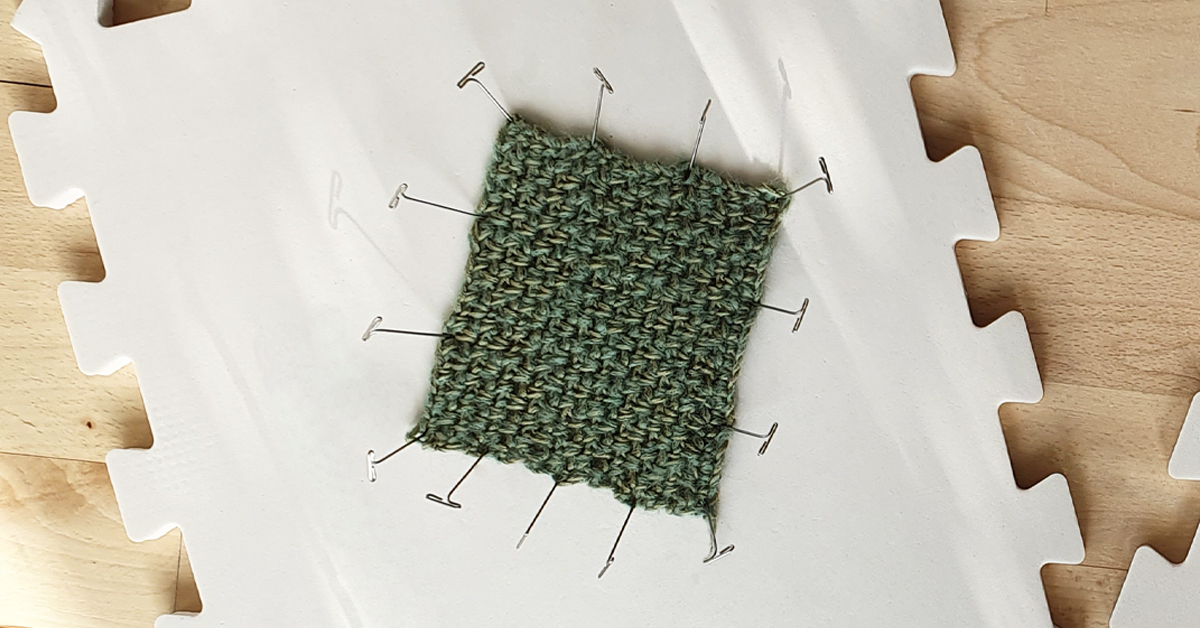
Projects without big, geometrical shapes can usually be blocked with just mats and pins.
If your project consists of several parts that need to be sewn together, you can try blocking the different parts before you attach them to each other. That way, you’ll get nice and even edges that are easy to sew together.
TIP: If your project needs to be a specific size, you can use a measuring tape as you pin the project to make sure that you’re stretching it enough 📏
When you’re blocking socks
You can also block socks on a mat with needles. But if you’re a huge sock-enthusiast, you can take the experience to the next level and buy a pair of sock blockers 🧦
When the socks are ready to be pinned, you just pull them over the sock blockers and hang them up to dry.
Step 2: Decide on how to get your projects wet
The fibers of the yarn usually dictate the method you should use to get your project wet 💦 Before you dive into it, you need to look at the label and find out what it’s made of.
If the yarn is made of wool...
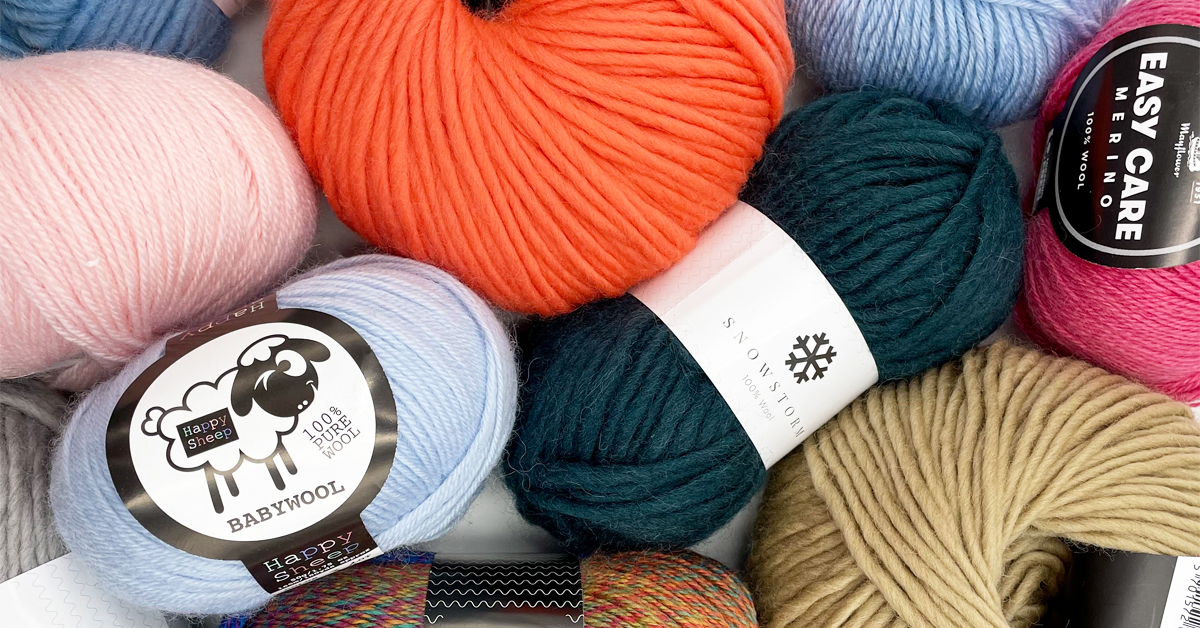
… you can use the classic method where you soak the project in lukewarm water. The soaking ensures that the fibers absorb the water properly and that you get a good result.
When the project has soaked for approx. 10-20 minutes, you can take it out of the water, lay it on a towel, and gently squeeze it with the towel until the project is wet but doesn’t drip. It’s important that you don’t wring or pull on the project since it can twist and overstretch the fibers. The project is now ready to be attached to the surface of your choice.
Take note that wool can felt when handled vigorously in wet condition. Be careful when you soak the project and avoid rustling it too much.
If the yarn seems especially prone to felting, you can use the spray method instead. If you do this, you need to attach the project to the surface first and spray it afterward until the project is nicely damp. Then it just need to be left to dry.
If the yarn is made of cotton …
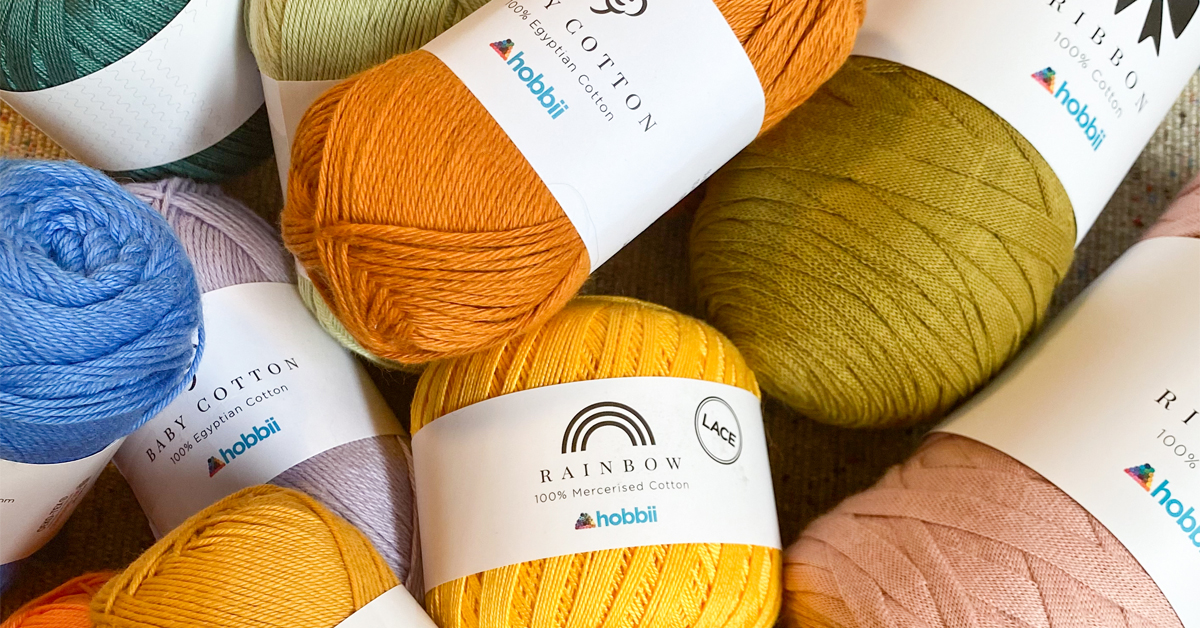
… you can also use the classic approach. But cotton tends to stretch a bit when it’s completely soaked. If you’ve made a large project like a sweater or a blanket, the extra weight may end up stretching it too much when you lift it out of the water.
Instead, you can use the steam method. Pure cotton handles heat well. Start the process by attaching the project to the surface. Then steam the project with an iron set to the steam function. Hold the iron ½ an inch to 1½ inch (1-3 centimeters) from the project to let the steam work its magic.
NB: Don’t press the iron against the project. If you press down on the project, the stitches might become flat and lose their texture. So, keep your distance. If you think that your iron doesn’t give off enough steam, you can moisten the project with a spray bottle before going back in with the iron.
If the yarn is made of acrylic, polyester, and other synthetic fibers …
… then you need to be careful with the heat. Synthetic fibers are heat sensitive and might melt if you’re not careful. That’s why I recommend that you completely avoid the steam method here.
Instead, you can try the classic method, as long as you make sure that the water is only lukewarm, typically no warmer than 104 degrees Fahrenheit (40 degrees Celsius). Alternatively, you can use the spray method.
Working with a blended yarn?
Well, then you need to experiment. There’s no one way to do it since it depends on the materials used in the blend and how much of each is in the yarn.
On such occasions, it’s a good idea to use your swatch as a test before doing anything to the project.
When I’m blocking blended yarns, I usually start with the spray method since it’s a pretty surefire method with all types of yarn. If it doesn’t work out, I move on to the classic method.
Step 3: Enjoy your project!
Yup, you actually just need two steps to get those beautiful results you’ve always wanted. Now all you have to do is enjoy your work. Remember, sweaters and other projects can be blocked again and again if they lose their shape.
Have any questions about blocking? Ask away in the comments below 👇


Leave a comment