If I were to describe mandalas with just one word, it would have to be symmetry. To me, that’s what makes mandalas magical. The combination of vibrant colors with the repetitive designs that create visual order. It’s pleasing to the eye as well as the mind 💆♀️
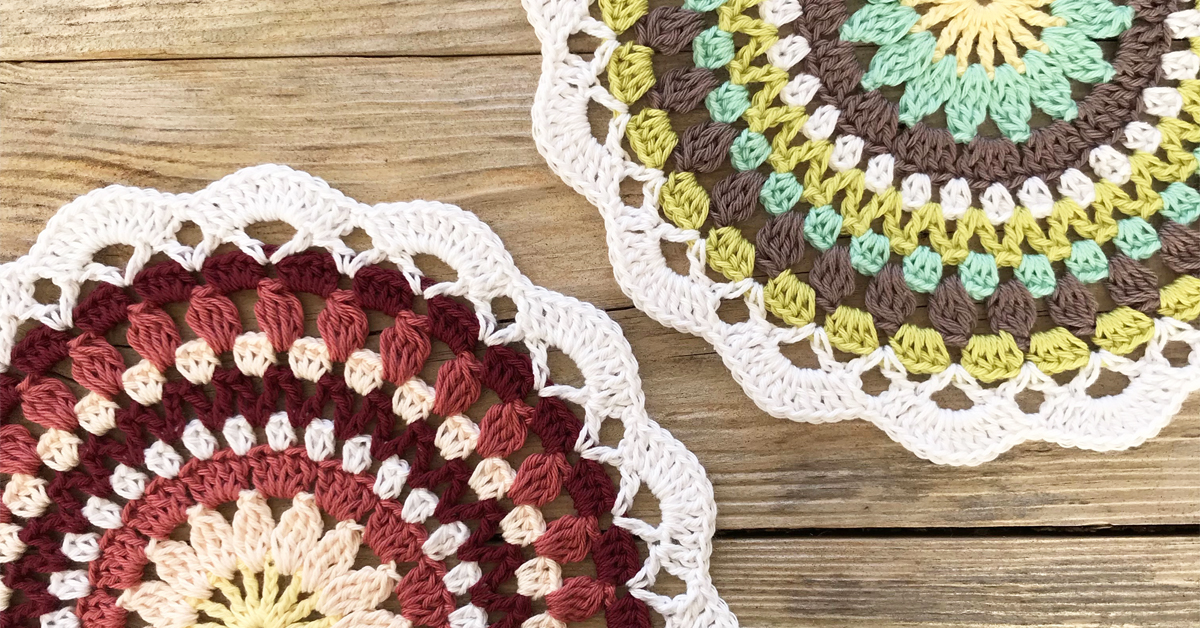
My first mandala wasn’t easy on the eyes, I can tell you that much 😅 The symmetry wasn’t quite right, so it ended up as more of a random, round blanket than a proper mandala. But you shouldn’t live in fear of the same fate. With a couple of handy tricks and techniques, you can avoid the many pitfalls and make the most beautiful mandalas.
Stretch! 🧘♀️
Many hours spent toiling away over a crochet project can easily lead to a stiff neck and shoulders. So, it’s important to stretch once in a while, for example before you begin a new row.
And while you’re up, it’s actually also a good idea to stretch your project before you get started on the next row.
When you crochet, it’s easy to accidentally pull outwards a little on the row you’re working on since you’re holding your project while you crochet. It may result in elongated, less wide stitches. It can fool the eye quite easily, especially if you’re crocheting in the round.
So, even if you’ve made the correct number of stitches and increases, the row may start to curl up in a bowl-like fashion instead of lying flat. You may think that your tension is too high – but it might just be because the stitches have stretched a little. If you unwind the entire project and start crocheting with looser tension, you may end up with the opposite problem and get a droopy, ruffly project instead.
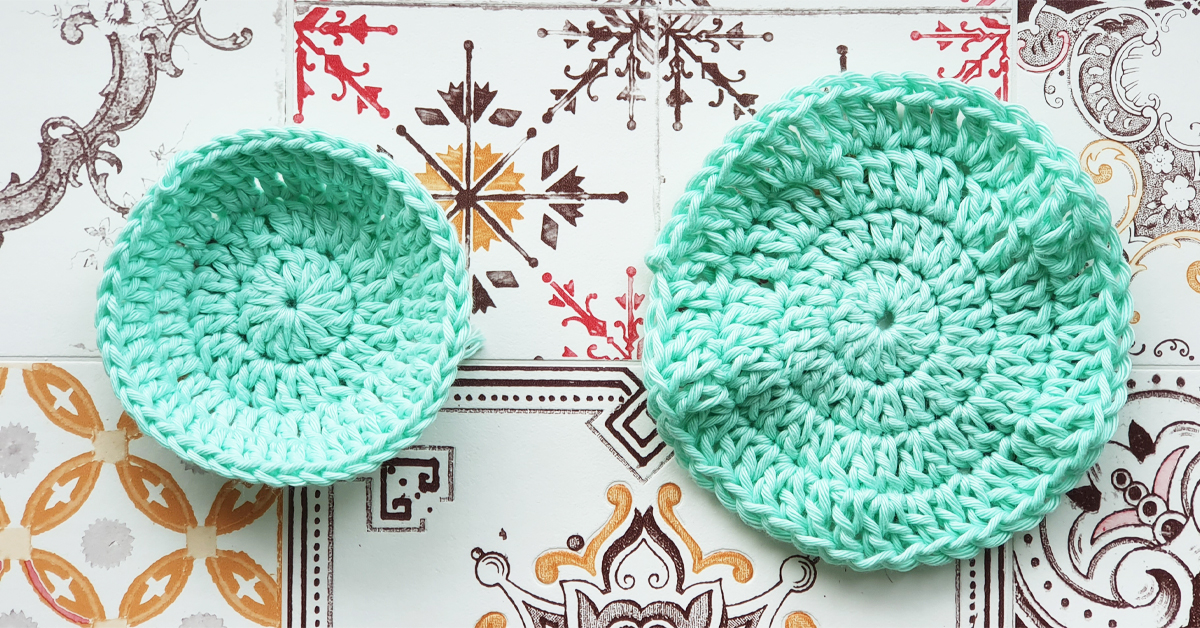
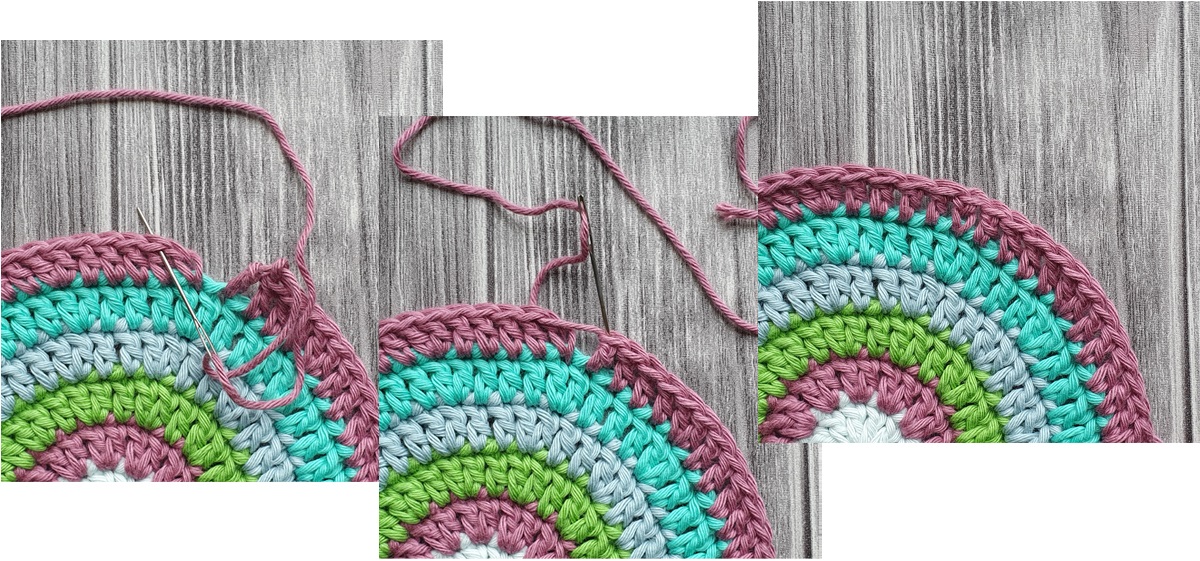
You can avoid this entirely by stopping each time you’ve completed a row and “fluffing” the row. That way, your stitches will straighten out, and it’ll be easier for you to tell whether your tension is just right.
Fluffing 101
Lay your project on the floor or a surface that’s big enough for your entire project to rest on it. Grab the edge of your project with both hands and shake it like you would if you were fluffing a duvet/comforter. Repeat the process all the way around the project.
Now, check whether the project is lying nice and flat.
NB: It’s important that you don’t pull hard on the stitches and force them to become wide enough when you’re fluffing the project. If you force the stitches to stretch too far, you run the risk of the row looking right but not actually being so. Hold the project gently and shake it lightly.
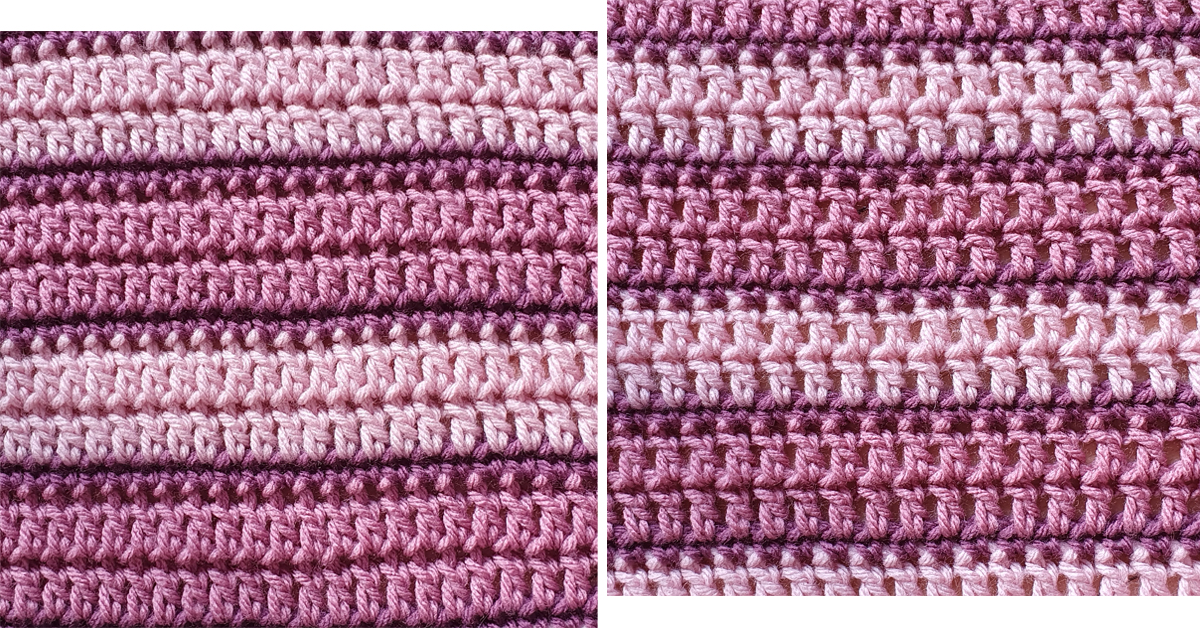
(From left to right) before and after ”fluffing” ☝
Psst… Fluffing is also a great way to stretch your shoulders and neck. If that doesn’t do the trick, you should try a crochet pillow. It helps you keep your hands and arms in a nice and elevated position. Then you won’t sit with your nose drooping into your project and your shoulders above your ears.
Use stitch markers
When you crochet, stitch markers are extremely practical! When I’m crocheting a mandala, I often use them to:
Mark increases
In some mandalas, the increases are ”stacked” so that each row’s increase is made in the last row’s increase. I’ve become pretty good at spotting my increases, but I miss them easily if I’m distracted (by the TV, of course).
In situations like these, stitch markers are great because they give me a physical reminder of when I need to make another increase. When I’m getting close to the increase, I’ll automatically grab the marker with the hand holding the project, and I’m reminded that I need to make another increase soon.
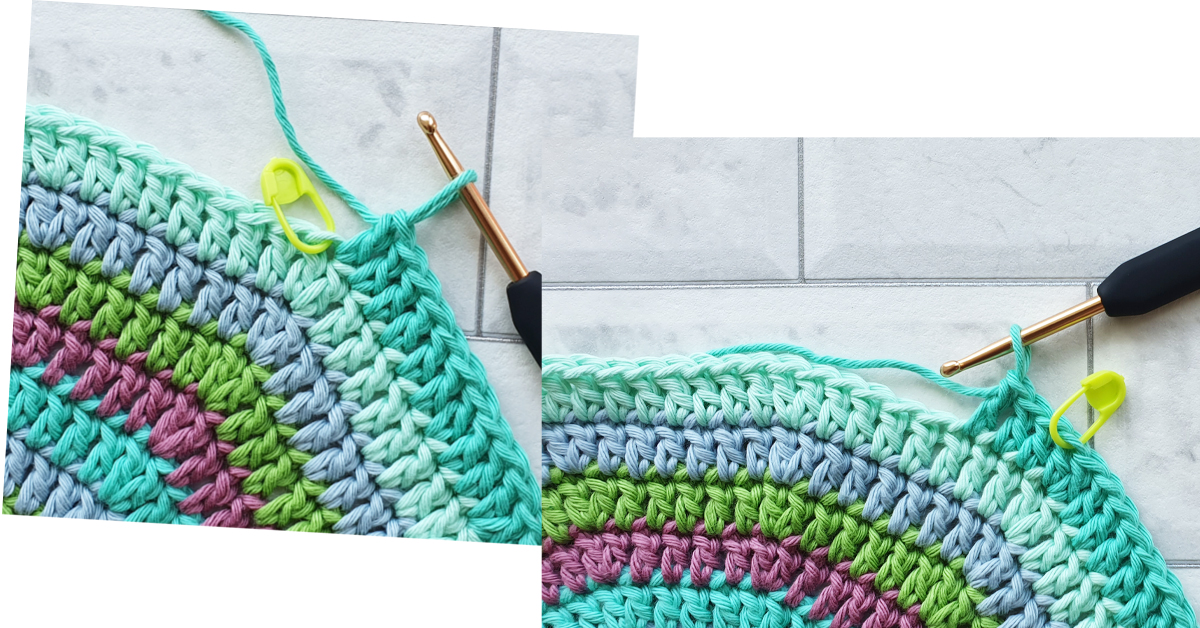
Mark the starting chains
Most times, mandalas are made in rows instead of as a continuous spiral, which means that you start each new row by making the appropriate number of chain stitches. Depending on the chosen yarn, it can be a liiiiiiitle hard to spot the last chain stitch from the first single crochet, half double crochet, or double crochet.
That’s why I usually attach a stitch marker to the last chain before starting on the new row. Then I know exactly where to end the rows.
You can find a large selection of stitch markers here.
Drop the slip stitch
You actually don’t have to finish your row with a slip stitch. Slip stitches are usually pretty easy to spot, and they ruin the pretty rows of uniform stitches.
Want to avoid this? Do this instead:
1️⃣ Cut the yarn and pull up the current loop
2️⃣ Thread the yarn end through a darning needle
3️⃣ Work the needle through both loops of the stitch after the stitch you’d normally make your slip stitch in (e.g., if you were going to make a slip stitch in the last chain stitch, then you need to work the needle into the stitch right after the last chain stitch)
4️⃣ Work the needle through the two loops in the last stich of the row
5️⃣ Pull it tight and weave in the end on the back of the project
Find the darning needle from the photo right here.
If you use this technique, you’ll have to cut the yarn after each row, which means that you’ll have to weave in more ends. But the result is amazing, and I think it’s absolutely worth the extra effort.
Drop the chain stitches
While we’re on the topic of nice-looking ways to end a row, we might as well talk about what to do at the start of a row. The start of a new row is often made with chain stitches, but you can actually cheat your way to a single crochet, half double crochet, or double crochet instead.
If your new row needs a single crochet, half double crochet, or double crochet, do the following:
1️⃣ Make a loop and put it on your crochet hook like you usually would when you’re starting a new batch of chains.
2️⃣ Yarn over the crochet hook as you normally would, to make a half double crochet or double crochet. Put a finger on the loop while doing so to keep it in place and prevent it from unravelling
3️⃣ Work your crochet hook into the stitch where you’d normally start your chain stitches and make a half double crochet or double crochet instead as you otherwise would.
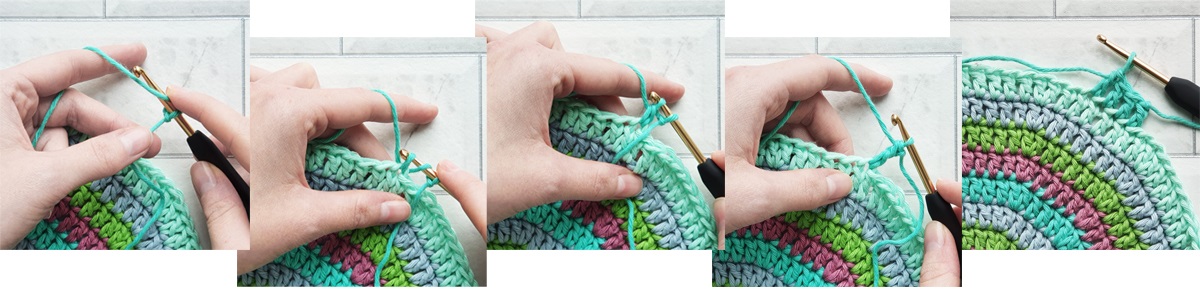
NB: t’s important that you keep your finger on the loop as you work to make sure that it doesn’t unravel itself. As soon as the stitch is finished, the loop will lock itself in place, and you can let go and continue your row as usual.
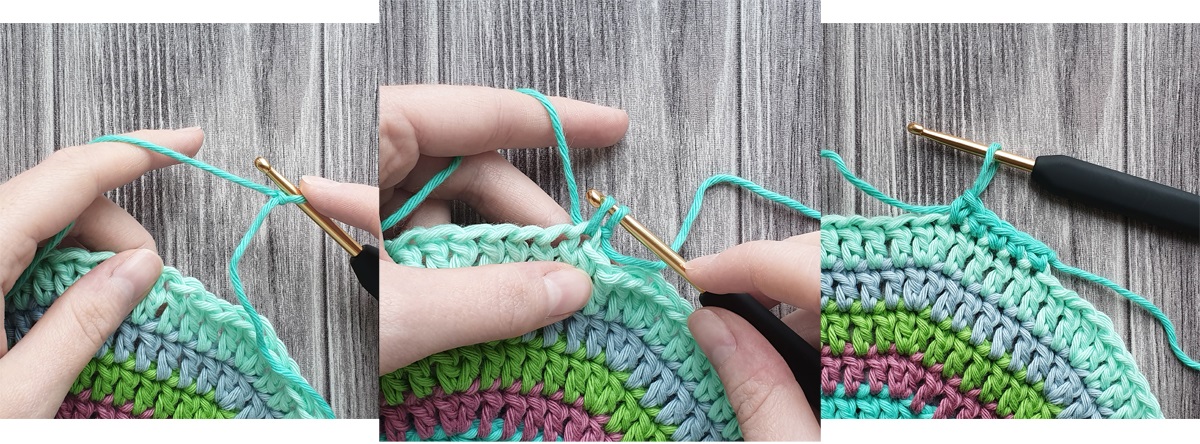
If instead, you need a single crochet, the process is almost the same. You just don’t yarn over the crochet hook at the beginning.
1️⃣ Make a loop and put it on your crochet hook like you usually would when you’re starting a new batch of chains.
2️⃣ Now, work the crochet hook into the stitch where you’d normally start making your chains and make a single crochet as you normally would (yarn over and pull through the first loop, yarn over again and pull through the rest of the loops)
Zig-zag you way to success
When you’re really eager to finish a project, it can be tempting to weave in ends very fast. But unraveling ends can really mess up all your hard work 😢
It’s better to spend a little extra time weaving in your ends perfectly – it doesn’t take many extra seconds to do it properly.
When I weave in ends, I usually use the zig-zag technique. With the zig-zag technique, your ends are less likely to unravel or peek out once you start using your project.
Do the zig-zag weave in by weaving in half of your end in one direction and then finishing the rest of it working in the opposite direction like in the photo below 👇
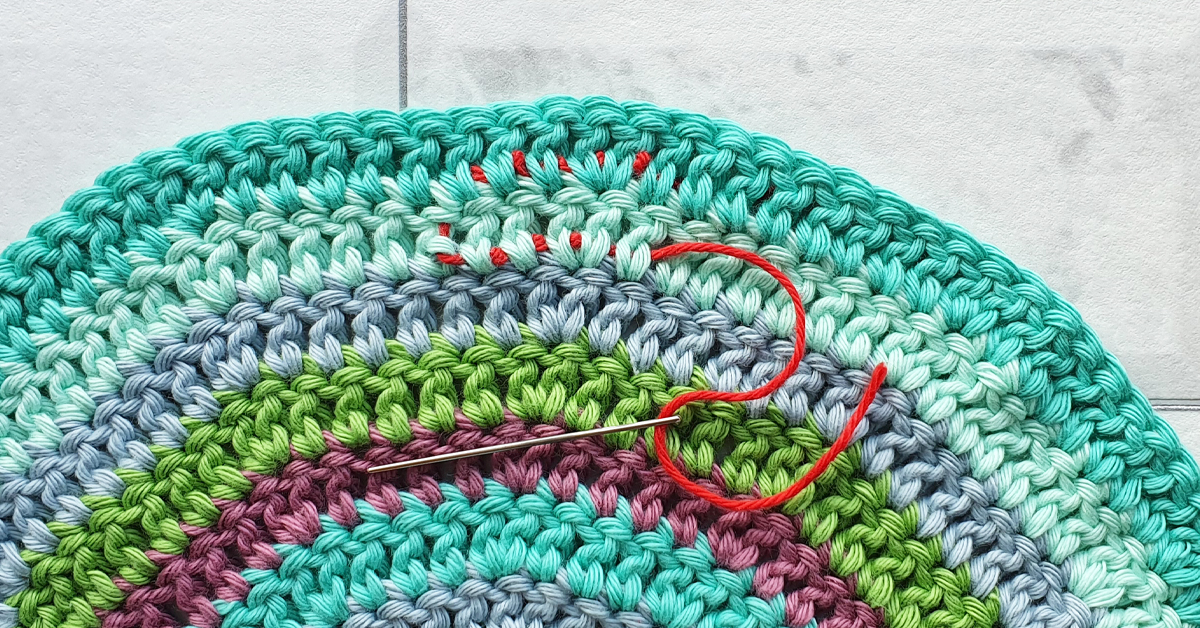
The more times you change directions, the better. The ends will be even more secure.
That’s it!
You now have a beautiful mandala ✨
Have you already crocheted a mandala? Or are you working on one now? Share a photo of it with us by:
- Posting photos on Instagram with the hashtag #hobbiishoutout.
- Sharing photos on Facebook, either on our Facebook-side or in the group Knit and crochet with Hobbii.
- Uploading the photos to our website. Just click on the yarn you’ve used and then click on “photo gallery”.
We LOVE seeing all your gorgeous projects! So feel free to send us as many photos as you'd like 😍


