You don’t need lots of tools to wind your yarn and turn a hank into a skein. In this blog post, I’ll show you how to do so with an item you’re sure to have lying around your house: a paper roll.
Have you ever looked at a hank of yarn and wondered what to do with it?
Whether you’re new to the whole knitting and crocheting game or you’re an experienced creative spirit, you’ve probably noticed that yarn can be wound in many different ways when you buy it.
Many yarns are wound in the form of skeins. All you need to do to get started with a skein is to find one end of the yarn, and you’re good to go.
Other yarns take the form of hanks, like our Unicorn and Unicorn Solid. These yarns aren’t wound yet, and they’re sure to get tangled if you rush into working with the yarn before you’ve wound it properly into skeins. Trust me, you want to avoid that frustration (I’m speaking from experience) 🤯
In this blog post, I’m going to show you how to:
Do you have a yarn swift and a yarn winder? Skip straight to this guide here.
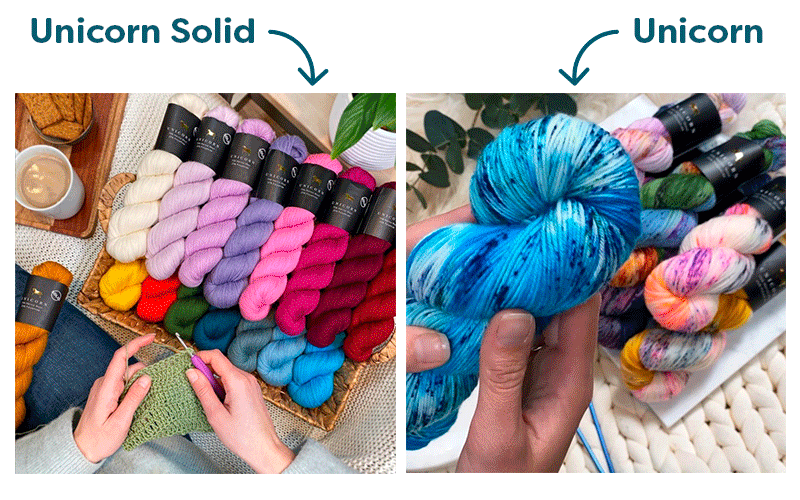
Our yarns Unicorn Solid (on the left) and Unicorn (on the right) are hanks when you get them. You need to wind these yarns into balls or skeins before you can use them.
1. Gently unfold the yarn
The first thing you need to do when you get the yarn is to unfold it. It’s a good idea to be a little extra careful with this step to avoid potential tangling. It will save you from all the trouble and frustration that a tangled mess of yarn will surely bring.
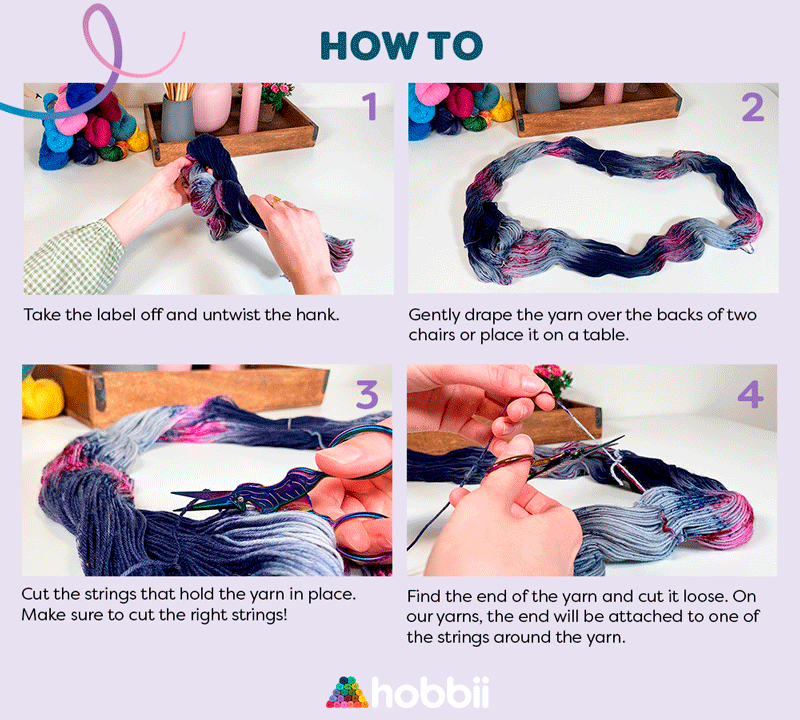
How to:
- Take the label off and untwist the hank.
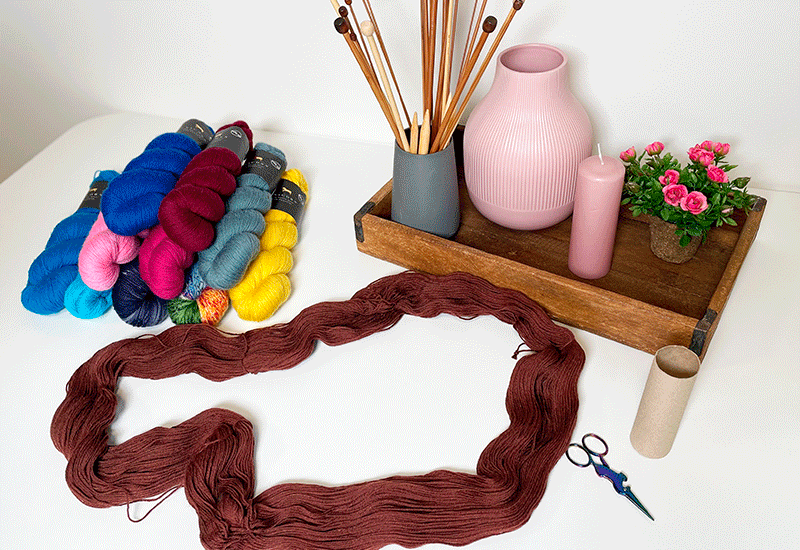
- Gently drape the yarn over the backs of two chairs or place it on a table.
- Cut the strings that hold the yarn in place. Make sure to cut the right strings!
- Find the end of the yarn and cut it loose. On our yarns, the end will be attached to one of the strings around the yarn.
You could also ask your friend, spouse, or partner for assistance to keep the yarn in check. But I have to warn you, this method may result in the very tired arms of your little helper. Look how it turned out when Rasmus from the Hobbii office volunteered to help 👇
Tip! You could also consider investing in a yarn swift. It’s an effective tool that will help you keep your yarn in place while you wind it. Just attach it to the edge of a table. It makes the process of winding your yarn much easier since the swift rotates automatically when you pull on the yarn.
2. Wind the yarn into a skein
Now you’re ready for the next step: Winding the yarn into a skein.
If you want to make life easier for yourself, you can wind the yarn to make a center-pull skein. That way, you avoid the trouble of your yarn bouncing around and rolling across the living room floor just as you’ve settled into your work (oh yeah, we’ve all been there).
The easiest way to do so is to wind your yarn around something. Maybe you’re one of the lucky ones who has a good old-fashioned winding stick to wind your yarn around.
If you don’t own a winding stick, there are lots of other ways to wind yarn. You can even use your thumb. But it’s not very practical because you won’t really be able to put the yarn down again before you’re done winding it all … and then 400 meters (437 yards) is suddenly a loooooooot of yarn.
But what can you use, then? Look at your home and keep a creative mindset. Surely, you have something you can wind your yarn around. It could be a thick knitting needle, a rolling pin, or a wooden spoon.
You could also wind your yarn around a paper roll or a piece of cardboard. And I’ll show you how to do that right now.
How to wind yarn using a paper roll
One of the neatest ways to wind yarn by hand is to use a paper roll as your winding tool. You can use a piece of cardboard that you’ve rolled yourself or a toilet paper or paper towel roll. If you prefer working with a harder type of roll, you can use the roll from a roll of tinfoil or plastic wrap.
Follow these steps:
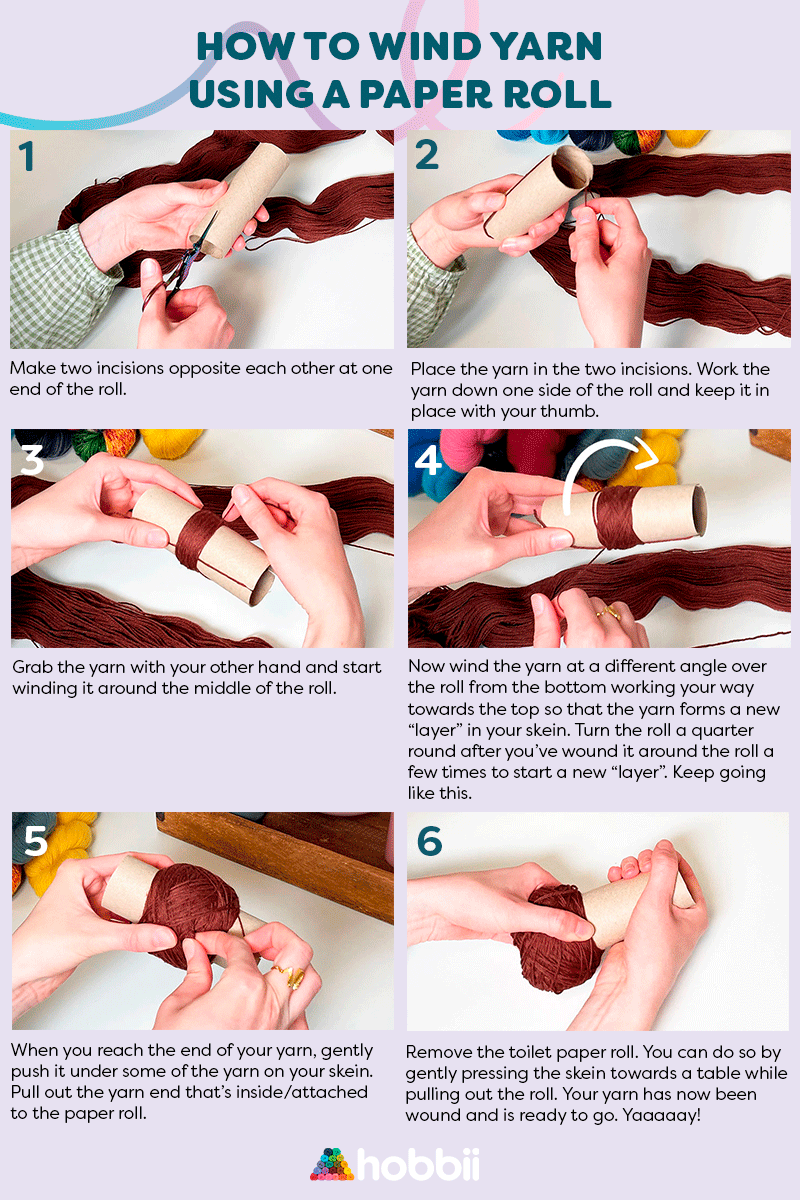
- Make two incisions opposite each other at one end of the roll.
- Place the yarn in the two incisions. Work the yarn down one side of the roll and keep it in place with your thumb.
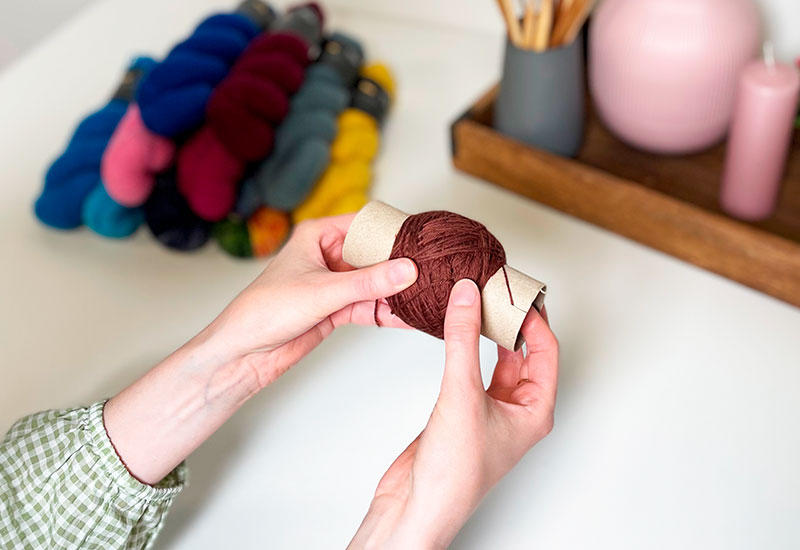
- Grab the yarn with your other hand and start winding it around the middle of the roll.
- Now wind the yarn at a different angle over the roll from the bottom working your way towards the top so that the yarn forms a new “layer” in your skein. Turn the roll a quarter round after you’ve wound it around the roll a few times to start a new “layer”. Keep going like this.
- When you reach the end of your yarn, gently push it under some of the yarn on your skein. Pull out the yarn end that’s inside/attached to the paper roll.
- Remove the toilet paper roll. You can do so by gently pressing the skein towards a table while pulling out the roll. Your yarn has now been wound and is ready to go. Yaaaaay!
Tip! You can also keep your yarn in check by placing it on a yarn holder. With this tool, you won't need to pull the yarn from the center of the skein, but you can still use the method with the paper roll to wind your yarn.
Want a faster, easier way?
If you think it’s a hassle to wind your own yarn by hand, you can invest in a yarn swift and a yarn winder. The combination of these two tools will make the process much easier, not to mention faster. Why wouldn’t you want to get to the fun part right away: knitting and crocheting? I certainly won’t judge you!
Guide: How to wind yarn with a yarn swift and a yarn winder


Leave a comment