YES you read that right - amigurumi! It's not exactly a word that rolls off your tongue, and you'll probably be unsure of how to pronounce it - but luckily it's not that crucial. What is crucial, on the other hand, is that you know what it is if you are to get something out of this post ;-) So let me start by presenting the phenomenon:
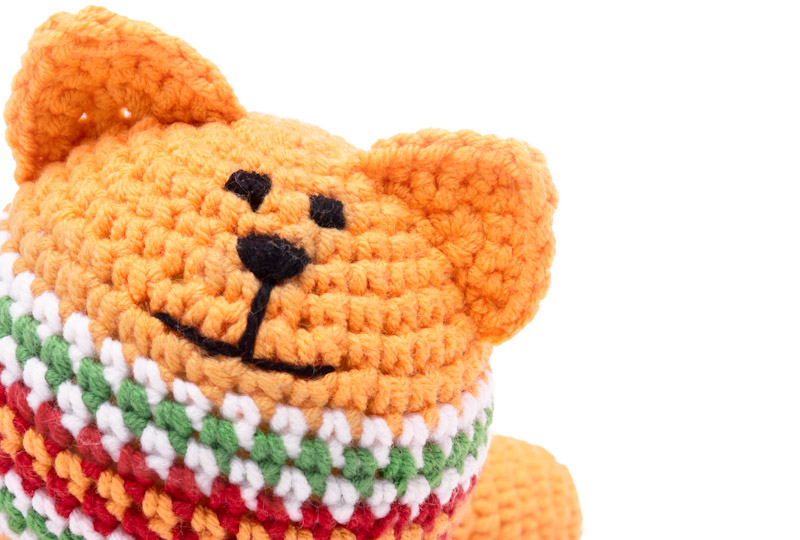
Cute and cute stuffed animals
Amigurumi is a Japanese word that describes a variety of small cute animal designs. Loosely translated, amigurumi means small crocheted or knitted stuffed animals - ami means crocheted/knitted and nuigurumi stands for adorable/cute animals/teddy bears/dolls.
Now that you know what amigurumi is, let me tell you a little about the techniques used, the appearance of the animals and which materials the adorable creatures require, and last but not least - how you best survive the assembly process. Unfortunately, I can’t help you with knitting techniques, but I will guide you through the general crochet techniques.
What skills should you have?
The most crucial technique you need when crocheting amigurumi is a magic ring. The magic ring is the beginning of crocheting in the round, and so it is indispensable in amigurumi. I have previously written a post on how to master the magic ring - read it here . You need to be able to make a magic ring as amigurumi always has some elements that require crocheting in the round. It could be the head of a teddy bear, the long ears of the rabbit, or the paws of a cat. When crocheting from a pattern, it will always tell you how many stitches you need in the magic ring for each item. Magic ring is not the only technique that is crucial to the process. You simply can’t proceed without increases and decreases. I have written two posts where I go in depth with each technique, and give you different tips to achieve the best result. See how to make the perfect increases here , and read in this blog post about making decreases. The stitches that are used the most are simple single crochet stitches, so if you already know that, you are well on your way to your first adorable stuffed animal!
Color changes are often necessary and they can cause some trouble! In amigurumi, you usually crochet in a spiral, and this can create some very ugly transitions in the color change.
I have personally had the best results with two different methods:
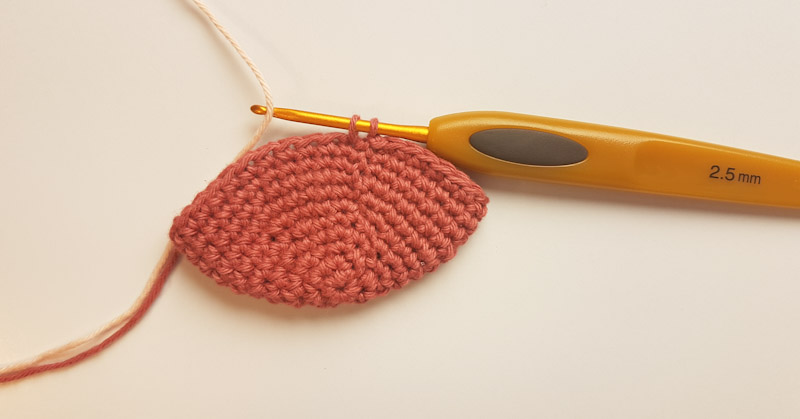
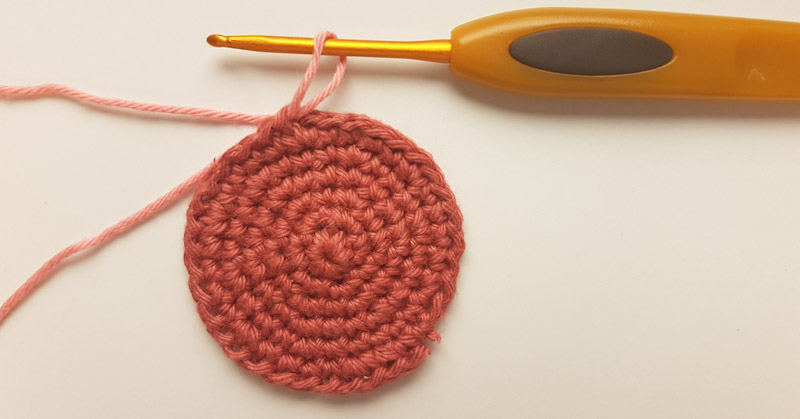
1. Finish each round with a slip stitch and start new rounds with a chain stitch. This means that you are constantly crocheting a new round, instead of continuing round and round in a spiral. That way, your color change starts in a new round, and not as a continuation of the existing round. Like so 👇
After you have completed the round with a slip stitch and chain stitch, you can start the new round where you have to change color.
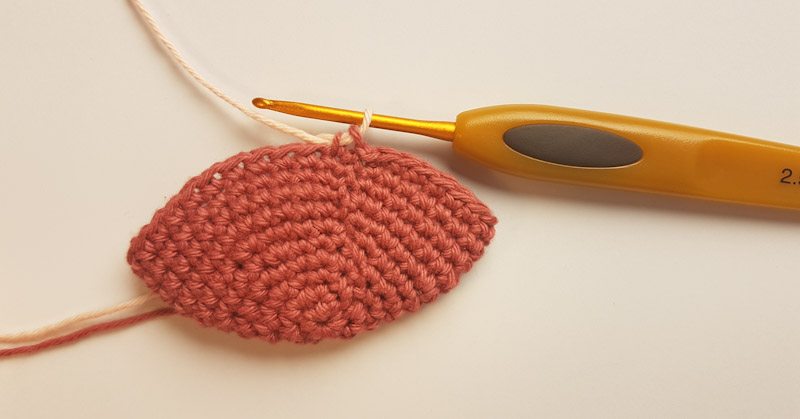
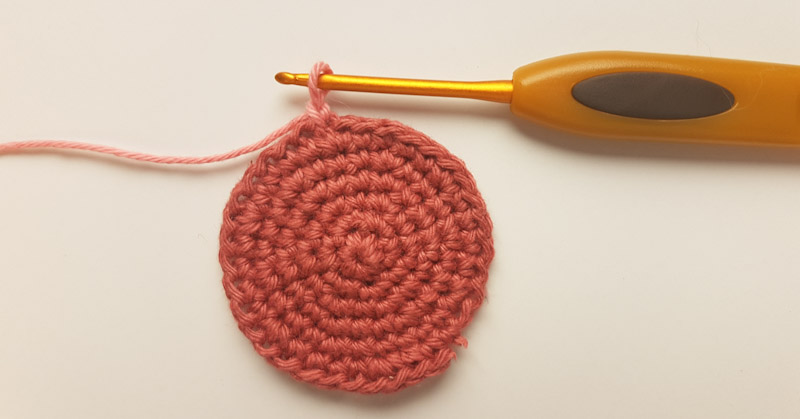
Wrap the new color around the hook and pull the yarn through the two loops on the hook. You have now changed color.
Continue as usual. When you reach the end of the round make one slip stitch in the 1 st single crochet and start the new round with one chain stitch.
2. If you do NOT want to finish each round, but wish to follow the pattern, you can easily do so. It just requires a little extra work. This is my favorite method, as I prefer to crochet in a spiral rather than finishing each round. When it's time to change color, make a slip stitch and cut the yarn (if you are completely done with that color). Then attach the new color anywhere on the round. This means that you are starting a completely new round, and the transition will look fairly nice. You can do this every time you need to change color. It’s a good idea to attach the new color at different places on the round. This leaves a lot of ends to be woven in, but if you crochet the yarn tails into the work, then it is not that bad at all. Like so 👇
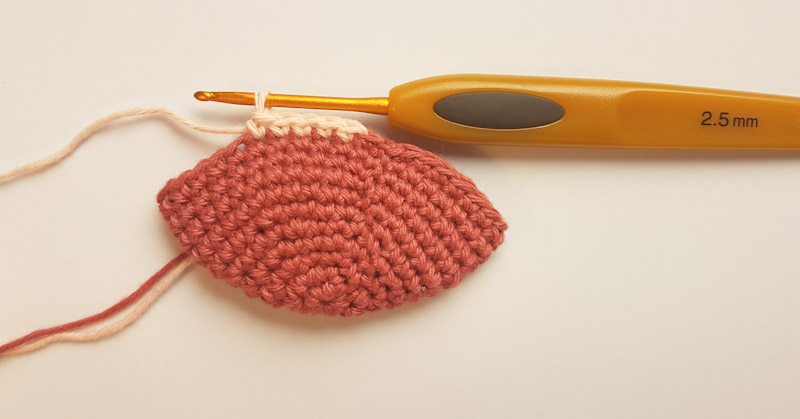
Attach the new color to a random place on the round.
Make one chain stitch.
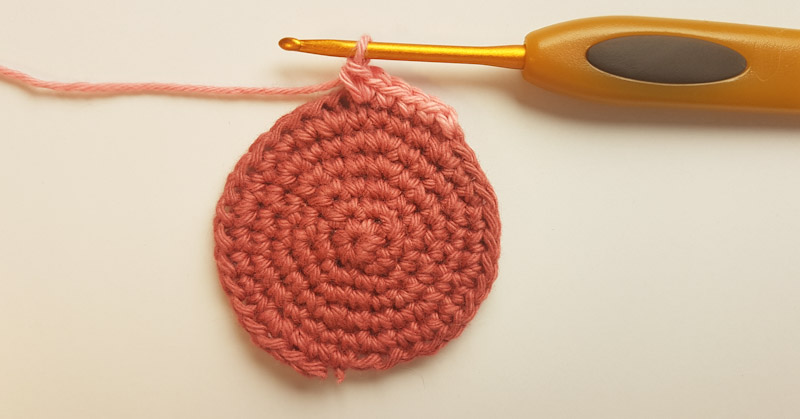
Continue as usual and finish the round with a slip stitch in 1st chain stitch. Continue crocheting in a spiral by only using chain stitch in that round.
What should it look like?
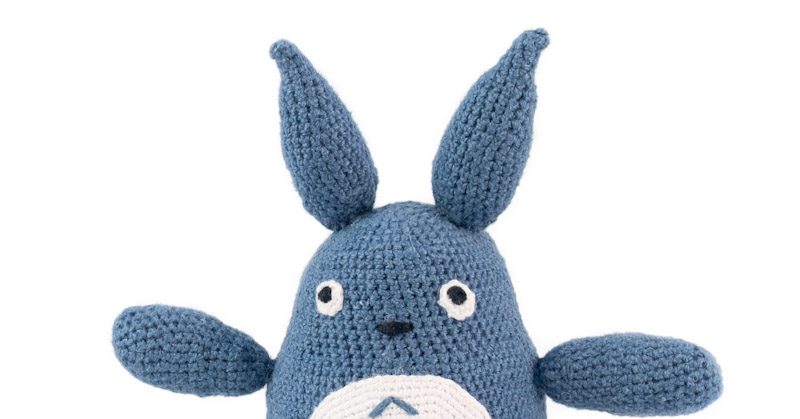
Amigurumi can look exactly the way you want it. The original amigurumi always has a particularly adorable look to it, which is enchanting. Cuteness also characterizes the vast majority of patterns. Like this pattern for Gigi the Giraffe - it's a pattern set that contains everything you need to crochet the adorable giraffe.
What about materials?
The materials used for amigurumi are almost always cotton yarn and a crochet hook appropriate for the yarn. It is important that the holes in the crochet fabric are not too large, as that can cause the filling to fall out. I recommend a 2.5 mm crochet hook, but if you crochet very loosely you can easily go down to a 2 mm size. If you are unsure about which yarn is best for amigurumi, then I can recommend Rainbow. Rainbow is really lovely and it is available in 60 colorways! You will also need filling. If you crochet for babies, safety eyes can be a very good idea as small children and babies like to put everything in their mouths ;-) You can also embroider the eyes directly onto the teddy bear. All you need is a yarn remnant and a darning needle.
I prefer Clover Soft Touch 2.5 for amigurumi because this crochet hook has a very good grip, which is crucial when working with very small and detailed crochet projects.
I do not know if it's just me who finds it difficult to mount all the small parts… But you can make it a little easier by using safety pins to hold ears, muzzles, arms, etc. in place. This way you make sure that each part is placed identically on both sides and that the teddy bear turns out symmetrical - even though there is a certain charm to the asymmetrical creatures. At least that’s what I tell myself ;-)
I hope I have shed some light on amigurumi, and if you feel like trying your hand at these adorable animals, why not start with the cute patterns from Hobbii 😍
Love
Josefine, Hobbii
