During your crochet career, you can hardly avoid decreasing in order to crochet something like a ball or amigurumi - if you do not know about amigurumi then read here and learn
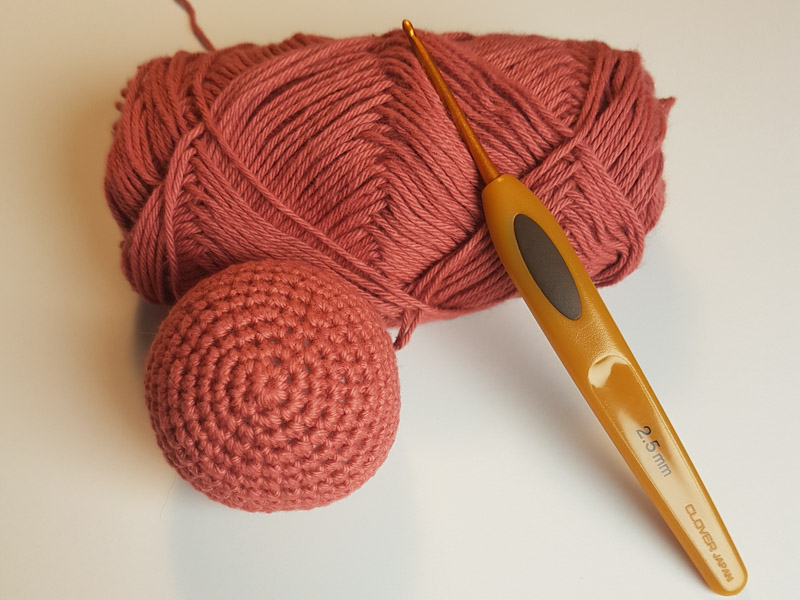
When I crochet a ball, or amigurumi, I prefer to crochet in cotton and with a Clover Soft Touch 2.5 mm crochet hook
I will try to guide you through the decreases that are part of the process when making a ball
There are 3 steps in successfully crocheting a ball:
Step 1: Magic ring and increases
The first step is a magic ring. If you are not familiar with it yet, check out my previous blog post: Magic Ring: This Is How You Master It . After starting your magic ring and crocheting the first single crochet stitches in it, proceed crocheting in the round. There are two methods of crocheting in the round. You can either crochet in a spiral - you usually see this in amigurumi patterns - or you can crochet in the round and finish each round with a slip stitch and start a new one with a chain stitch.
I have made a detailed guide that shows you how to make the perfect increases, which ensure your circle is even and round - read it here: How to make perfect increases
When you crochet from a pattern it will always say how many rounds of increases you have to make. If you want a larger circle, you can always add a few extra rounds before crocheting around without increases.
Step 2: The ball takes shape
In step two, simply crochet around and around without either decreasing or increasing. This means that you stop increasing your number of stitches, but continue to crochet rounds with the existing number of stitches - the number you ended up with in the last round of decreases. It gives the ball its height and shape and thus you get a round figure. It varies with how many rounds like this you need to make from pattern to pattern and from size to size.
Step 3: Decreases
The third - and final - step is decreasing. When you decrease, the number of stitches is reduced and the ball gradually closes. There are several methods to successfully do this. First, I will show you the most common technique.
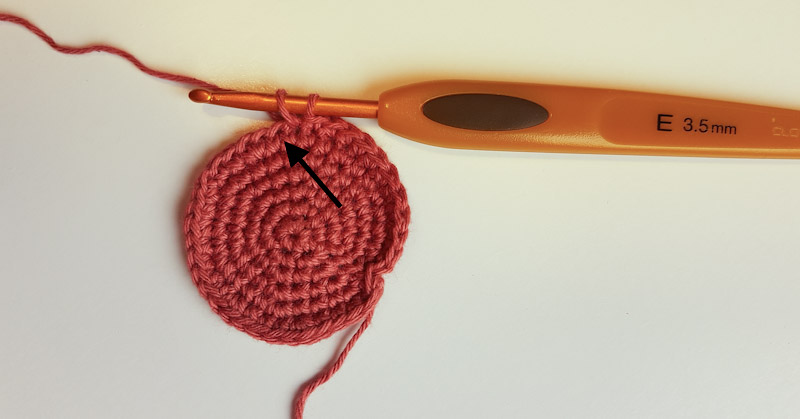
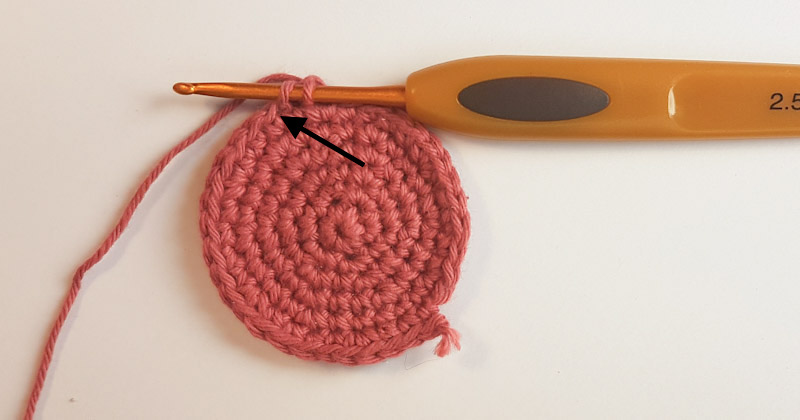
I have made a step by step picture guide which shows you how to decrease 👇

To do this, go into the stitch from the previous round, as indicated by the arrow, wrap the yarn over the hook and pull the yarn through the stitch.
Now you have two loops on the hook, but do NOT wrap the yarn around the hook and pull through the two loops - in stead repeat exactly the same into the stitch next to it - go into the stitch from the previous round as indicated by the arrow, wrap the yarn around the hook and pull the yarn through the stitch.

You now have 3 loops on the hook - wrap the yarn around the hook and pull through all 3 loops - you have now crocheted two stitches into one.
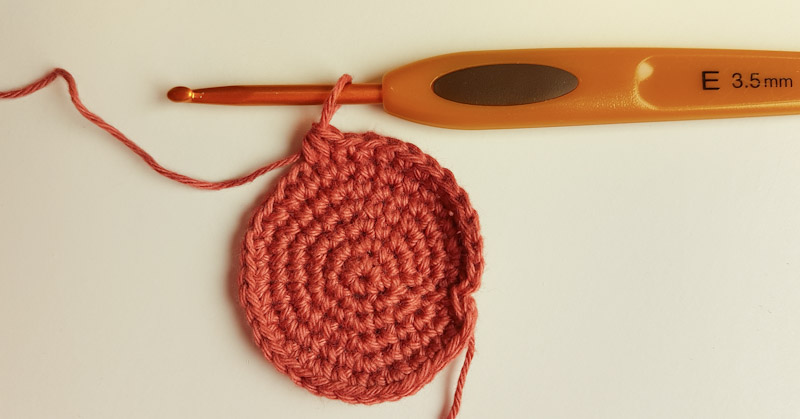
Here, two stitches from the previous round have been decreased to a single stitch and thus the number of stitches for the entire round is reduced by one.
Tips and tricks for the perfect ball
I always use stitch markers to keep track of the rounds
If, like me, you have experienced that your decreases turn out far from pretty and are very obvious, then check out this tip. An indispensable decrease trick is invisible decreases. Try this if you do not like the decreases you normally make. I often use it when crocheting a larger figure such as the body of a teddy bear or an animal. In that case the decreases are very apparent as they are spread over a larger area. In the ball, the decreases are only on a third of the work, which makes them less obvious.
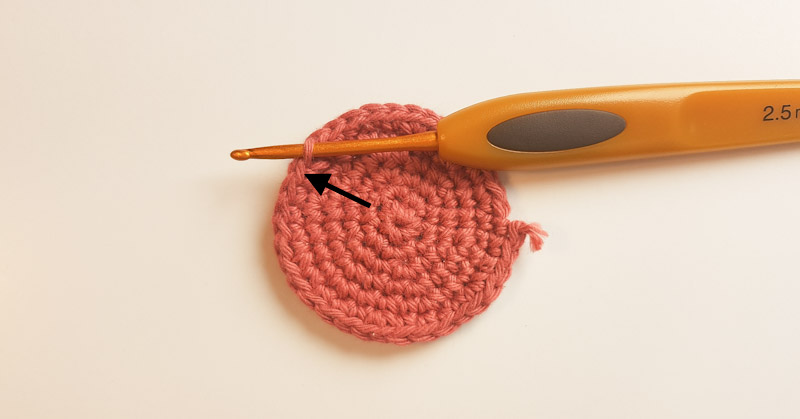
For invisible decreases, you only put the front loop of the stitch on the hook. You do this by going into the stitch from the previous round and pointing the hook upwards and up through the two loops - so you only have one loop on the hook. The arrow points to the front loop that should be on the hook.
When you have two loops on the hook, DO NOT wrap the yarn around the hook and pull through, but repeat the same into the stitch next to it - into the front stitch loop.
Continue as usual with intakes. It is important that you only use this method when crocheting in the round, as it will become apparent on the back of the crochet if you work back and forth. The most important thing when you decrease is that you make sure that the decrease does not leave large holes where the filling can poke through as in the picture below 👇
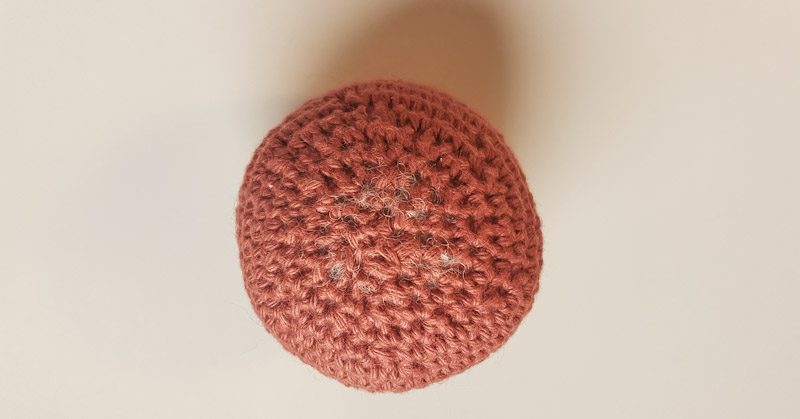
Finishing - closing and filling After decreasing the number of stitches to the same number as you started with in the magic ring, put the filling in the ball. Then sew the hole shut with a darning needle. Be careful to close the ball tightly so that the filling does not slip out. Remember to fill the ball up completely, as it is almost impossible to open the ball up again without cutting the wrong threads. This also applies if you want to put a rattle or music box in the ball - I have learned this from the bitter experience, as I stood there with a ball in my hands after having closed it without putting the rattle box inside! Unfortunately I had to discard the ball and start over.
Decreases when crocheting back and forth
You may also need to decrease when crocheting back and forth - or crocheting flat. It could be when crocheting something like a triangle. Here you make decreases in the same way as the first picture guide shows. You insert the hook into the next stitch, wrap the yarn around the hook, pull the yarn through - repeat in the stitch next to it until you have 3 loops on the hook - wrap the yarn around the hook and pull the yarn through all the loops = one decrease
I wish you good luck with your current and future projects 😘
Love
Josefine, Hobbii


