Is there a hole in your favorite sweater? Or does an old piece of clothing need a bit of spicing up? In this blog post we will guide you to how you can mend holes and adorn your clothes with the embroidery technique ‘visible mending’.

If you, like us, have fallen head over heels for the ‘visible mending’ trend, which is mending holes in clothes with beautiful embroidery designs, then we have good news for you! We have made a step-by-step guide, so you can get to work showing your old clothes some love.
This is what you will need
Before we get started on the embroidery, let’s take a look at what you need, when you mend a hole and embroider on clothes. We recommend that you have the following tools at the ready:
- Embroidery needle
- Embroidery yarn
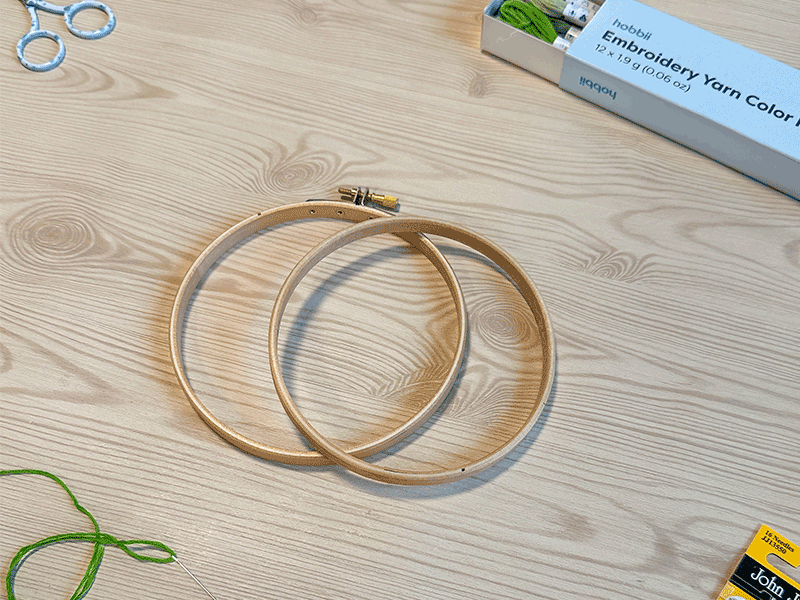
- Embroidery rind
- Scissors
And when you have that, you are ready to get to work!
This is what you do
Step 1. Get out your tools.
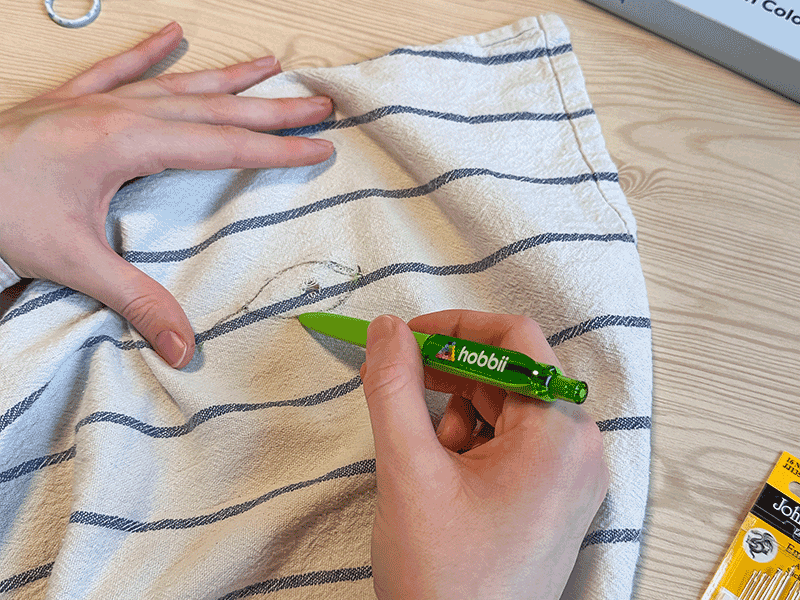
Step 2. Sketch your design.
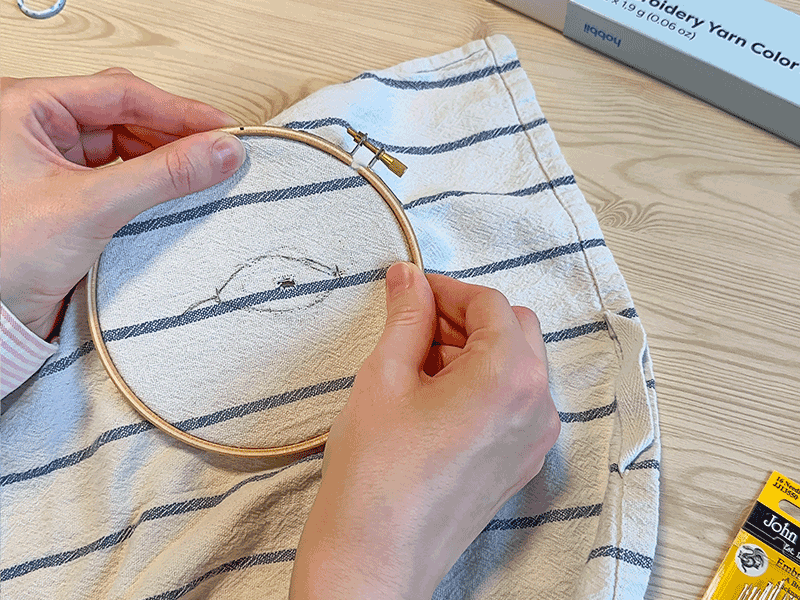
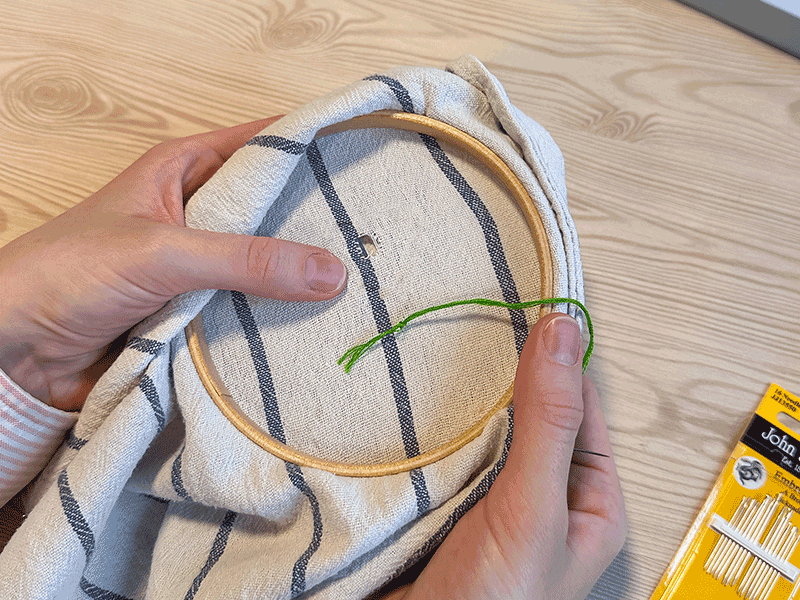
Step 3. Place the embroidery ring.
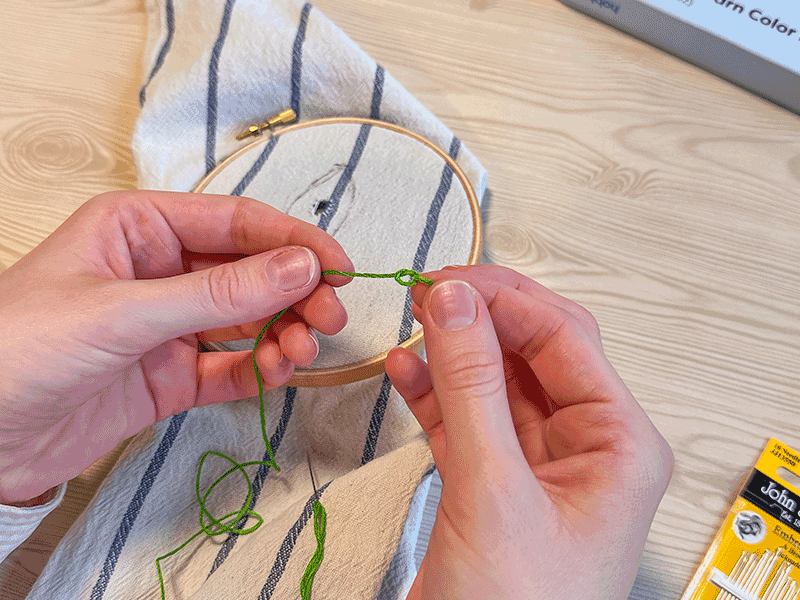
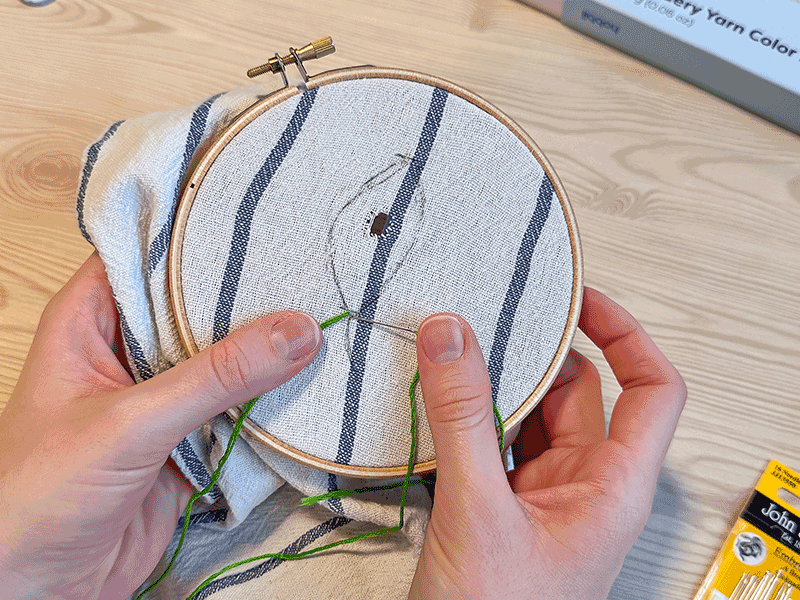
Step 4. Make a knot at the end of your embroidery yarn.
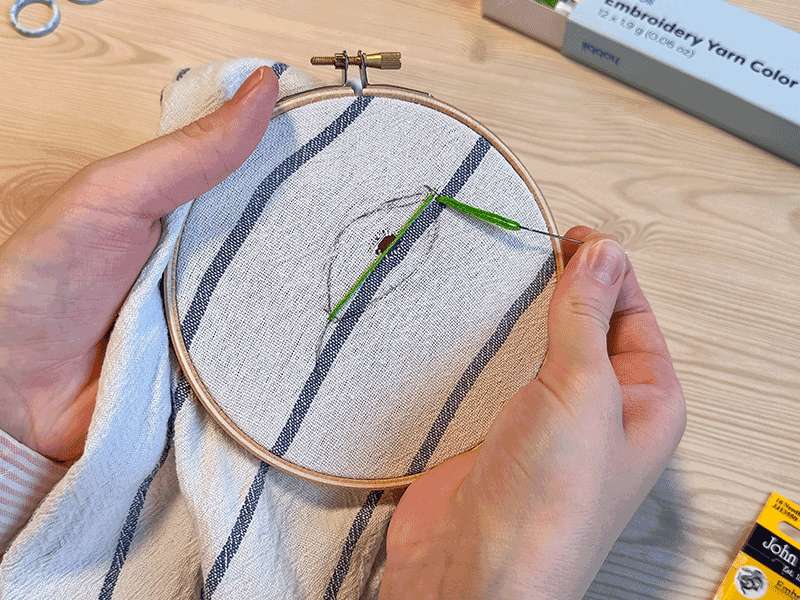
Step 5. Insert your needle from the back of the work and start at the bottom of the leaf.

Step 6. Make a stitch where you started.
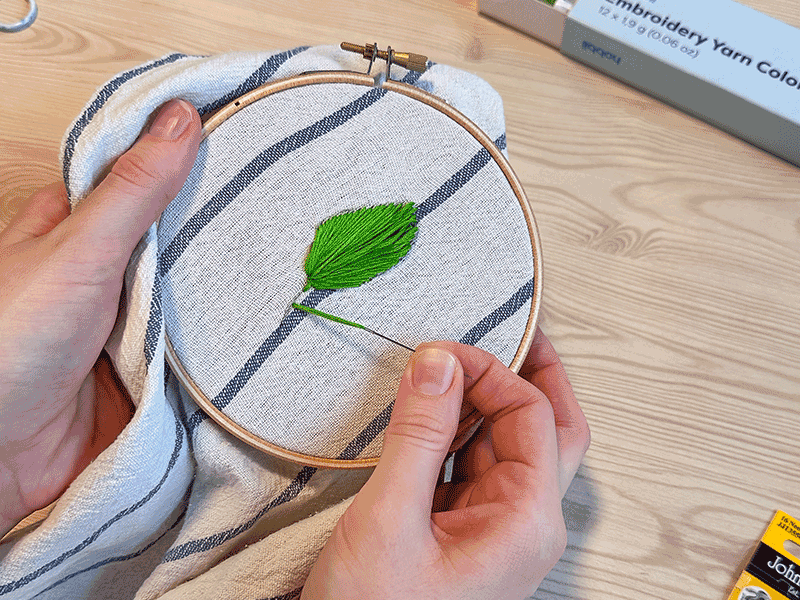
Step 7. You are now at the back of the work. Make a knot or pull the needle through the yarn to secure your work.
Step 8. Pull the needle out through the top point of the leaf.
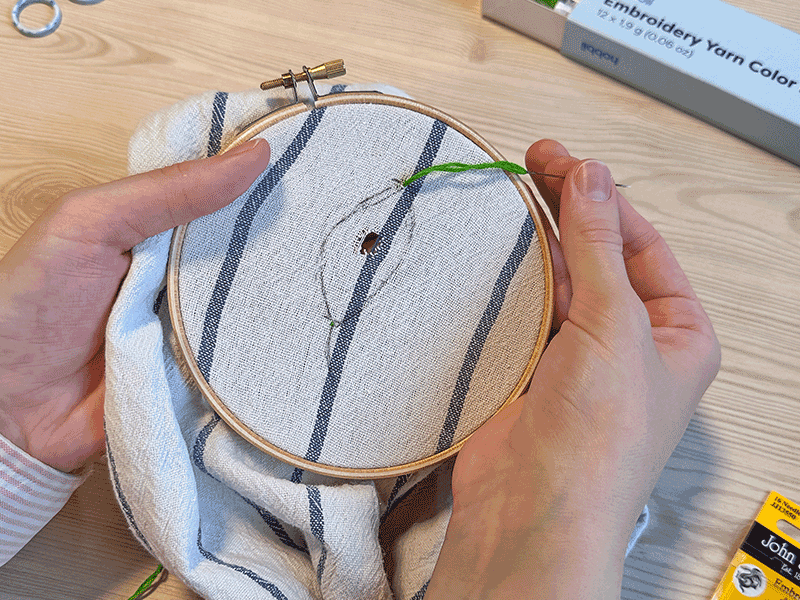
Step 9. Pull the yarn to the back through the bottom point of the leaf.
Step 10. Pull the needle to the front again – this time 0.5 mm from your first stitch.
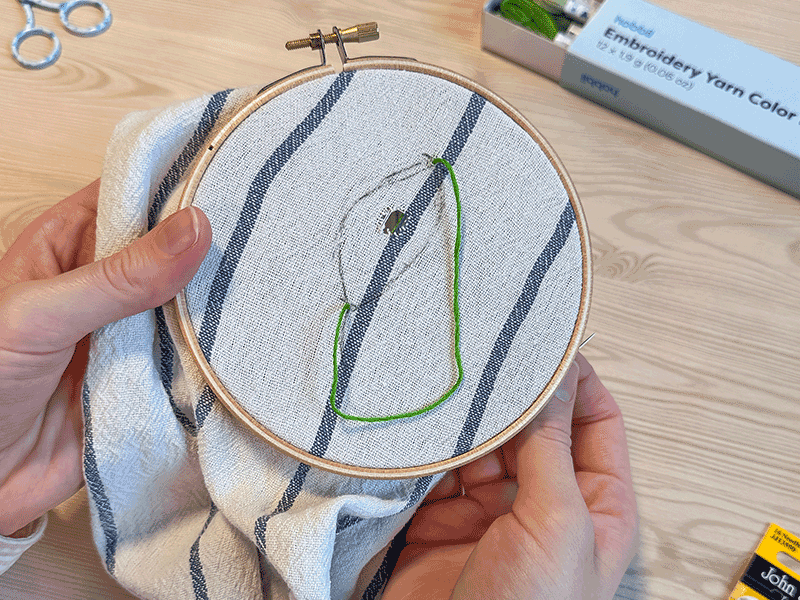
Step 11. Pull the needle through the bottom point of the leaf on the front. Then pull the needle through from the back 0.5 mm from your latest stitch at the top point of the leaf.
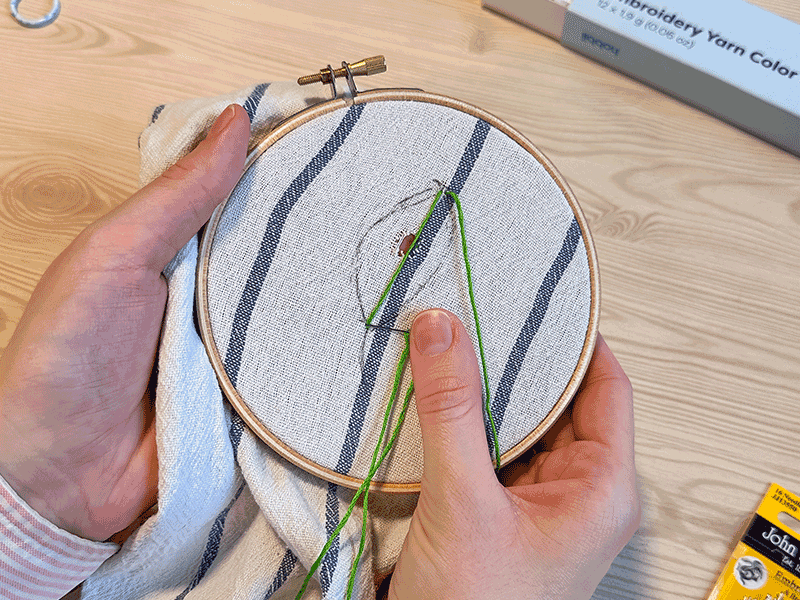
Step 12. Repeat step 11, until you have embroidered the entirety of one side of the leaf.
Step 13. Now pull the needle through 0.5 mm from the top point of the leaf and begin on the other side of the leaf.
Step 14. Follow the same procedure as earlier, when you embroidered the other side of the leaf (see steps 11-12).
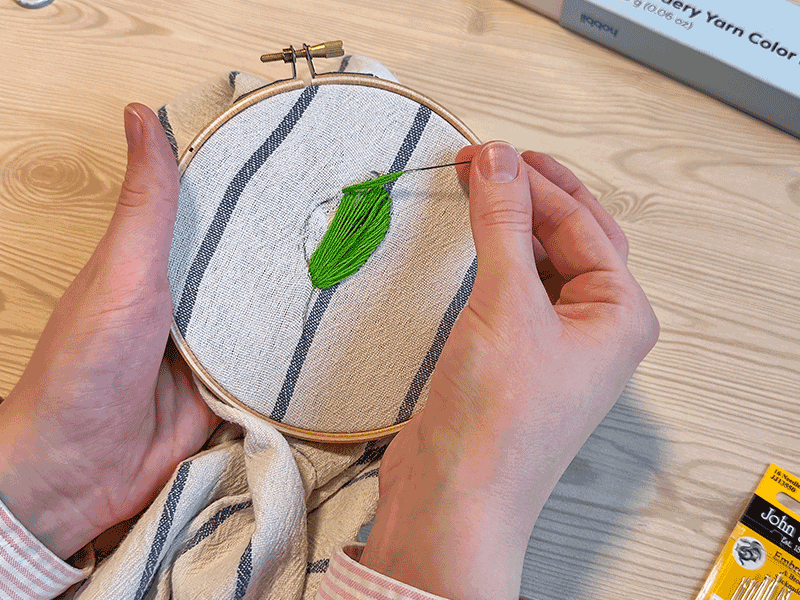
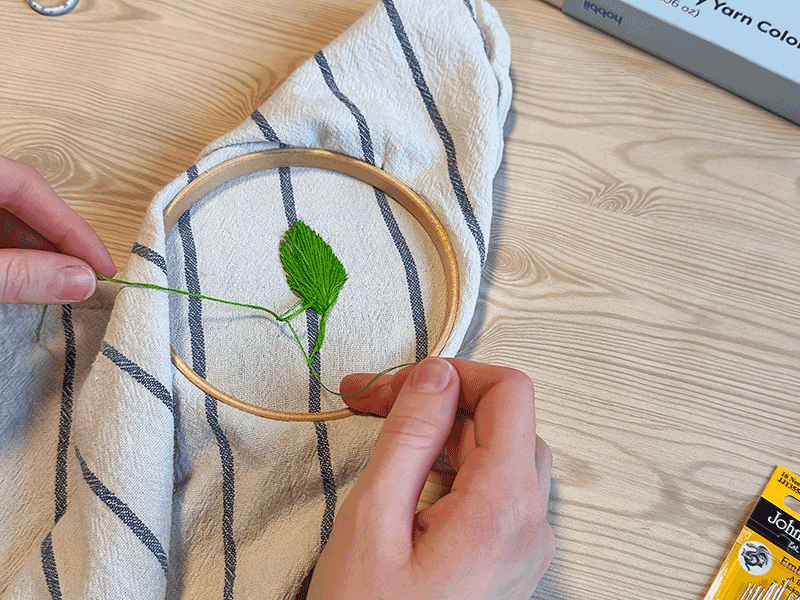
Step 15. You have now embroidered the leaf itself, and can now start on the stem of the leaf.
Step 16. Follow your sketch with ordinary stitches.
Step 17. When you have embroidered the entirety of the stem, you can make a knot or two on the back to secure your work.
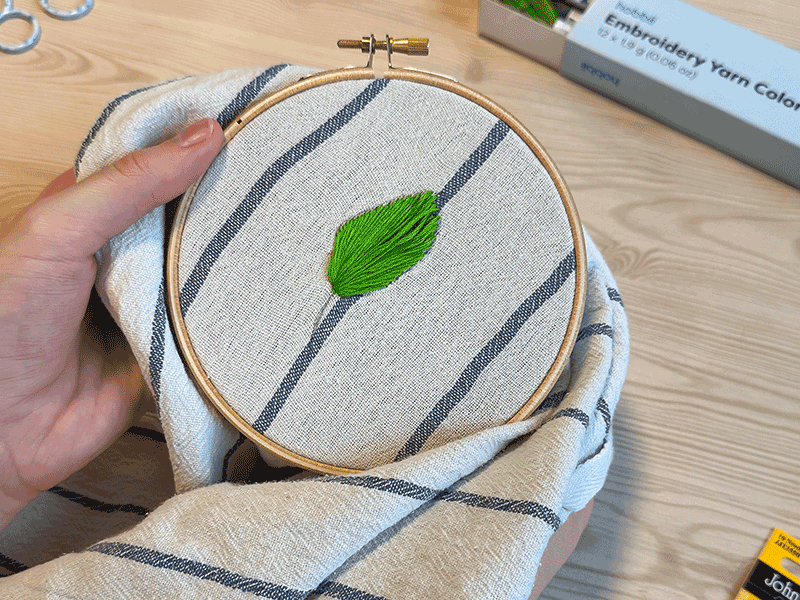
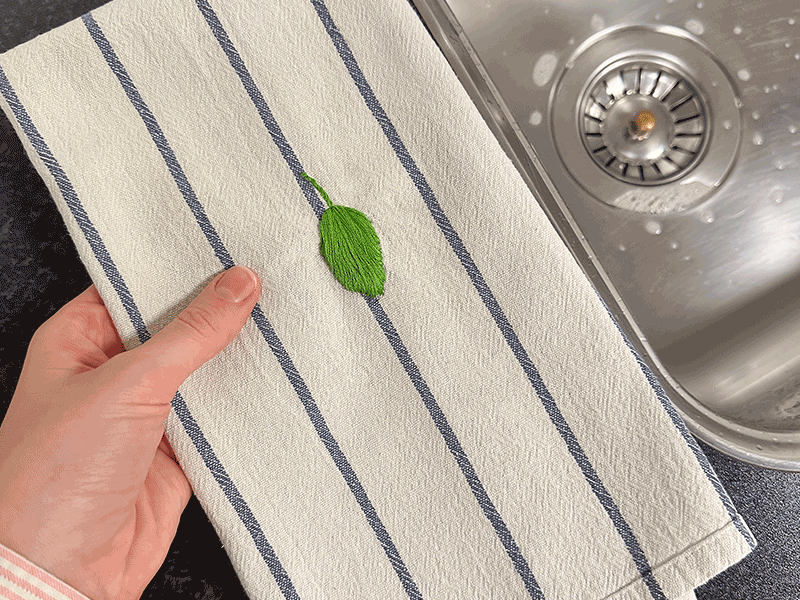
Step 18. And voilá! You have now embroidered a super fine and decorative leaf!
Get the tools
Do you have the courage to refresh an old project? Find embroidery yarn, embroidery ring, needle and everything else you might need for your new embroidery adventure here.
