The next holiday is approaching and we love to decorate our homes for Christmas, Easter and Halloween, birthdays or any other celebrations in our lives. But yarn by itself can't always hold its shape on its own and then we have to help it out. I have researched a bit and found a few different guides to get your project to keep its shape the way you want it. Common for all of them is that the best result is achieved if you dry your project into shape.
Starch:
Most people know this method
1 part cold water, 2 parts potato starch, stir thoroughly. Add boiling water until the mixture thickens, while constantly stirring thoroughly in the mixture. This mixture can be used on all colors, but is susceptible to discoloration from sunlight.
Once you have dipped your projects in the mix, it is important that you wring out the excess starch and that you stretch them out into shape while they are drying. If they are to be ironed, this must be done while they are damp, but my experience is that if they are stretched properly from the start, then it is not necessary.
If you later want them ironed, you can simply place a damp tea towel over your work. This is to protect both your work but also your iron.
Glue and Water:
The next method is half wood glue and half lukewarm water.
You can also use porcelain glue together with lukewarm water, however, this method is one that can be a little tricky, because there is a risk that your project will get stuck on the surface where you lay it out.
You can buy a good all-round glue everywhere places and it can easily be used if you have nothing else. My personal experience, however, is that it does not always produce the desired result the first time, but it can be achieved by dipping your work in the mixture once or twice more.
One thing you need to be aware of here is that if there is a little more glue than water in your mix, I would definitely say that you should use a non-adhesive surface when you lay your work to dry.
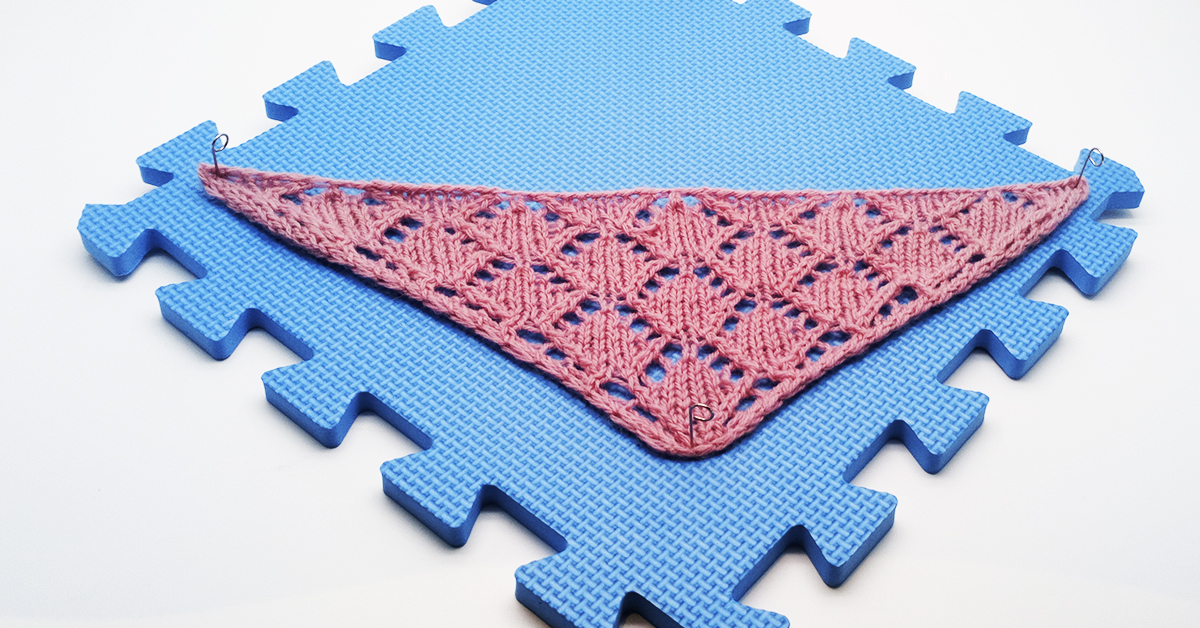
Foam rubber from a sofa cushion is definitely not recommended. The solution I found was our blocking mats from KnitPro.
Sugar Water Mixtures:
A third option is sugar blends.
However, I would not recommend them as they dissolve when washed, quickly appear dirty and are more susceptible to discoloration. The yarn is also not protected against troublesome stains. The starching will also need to be repeated several times.
1 part sugar and one part water
Bring the mixture to a boil until the sugar is completely dissolved.
Let the mixture cool to room temperature - now you are ready to soak your work. Wring it thoroughly before drying it.
Not all types of projects are equally suited for the aforementioned starching methods.
For example, if you want to starch the brim of a summer hat, then you should probably consider a plastic wire.
This way you avoid:
● That your sun hat sheds particles on your clothes.
● Becomes uneven
● The hassle of drying into a shape, as you only desire the brim of the hat to stiffen.
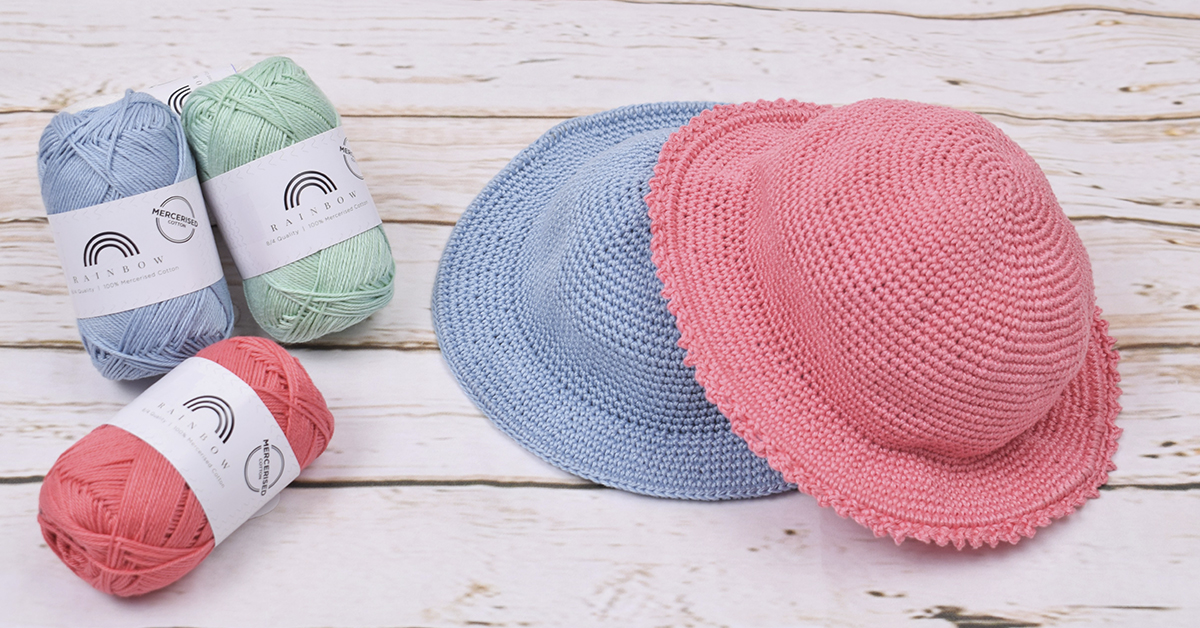
Among other things, we have this cute summer hat, where plastic wire has been used to stiffen the shade.
I have been really happy with your plastic wire for my summer hats, good product.
- Review of plastic wire from Janni B
If your projects are round, square or other shapes, it is important that they can dry into shape - no matter what type of starch you use. That will undoubtedly create the best result. You can find inspiration for your next project among our many free patterns :)
What types of yarn are best and which are less suited?
My own experience with this is that the fluffier the yarn is, such as acrylic, the more will the starching process result in a tangled look, regardless of which of the homemade methods you use.
The looser your yarn is spun, the greater the possibility that you will not get it wrung properly and thereby small lumps of the starch can accumulate. So be careful to wring your work thoroughly before drying it.
When I make projects that need to be starched, I prefer to use Rainbow Cotton 8/4 which is available in 86 colors.

My final piece of advice in this: make a small sample - what I like to call a "dummy swatch" - and test exactly how the yarn you are working with will react to the starch you want to use. This way you avoid that your finished project does not achieve the desired look.
We look forward to seeing many of your wonderful creations!

Leave a comment