Welcome to our step-by-step guide on crochet ribbing! Whether you're a beginner or an experienced crocheter, this tutorial will help you level up your skills and create beautiful and stretchy ribbed patterns in no time.
If you still haven’t mastered crochet ribbing, this technique should definitely be the next on your list! Crochet Ribbing is not only a beautiful texture, it also adds extra elasticity to your crochet projects. In other words, the Rib Stitch is perfect whether you’re making a beanie, a sweater, or a scarf.
In this step-by-step tutorial, we will help you master the art of crochet ribbing. We promise, it's easier than it looks! So, grab your yarn and hook – and get ready to expand your skills!
Before we get started on the guide, let us just explain why this technique is truly a next-level crochet stitch ✨
What is the Crochet Rib Stitch?
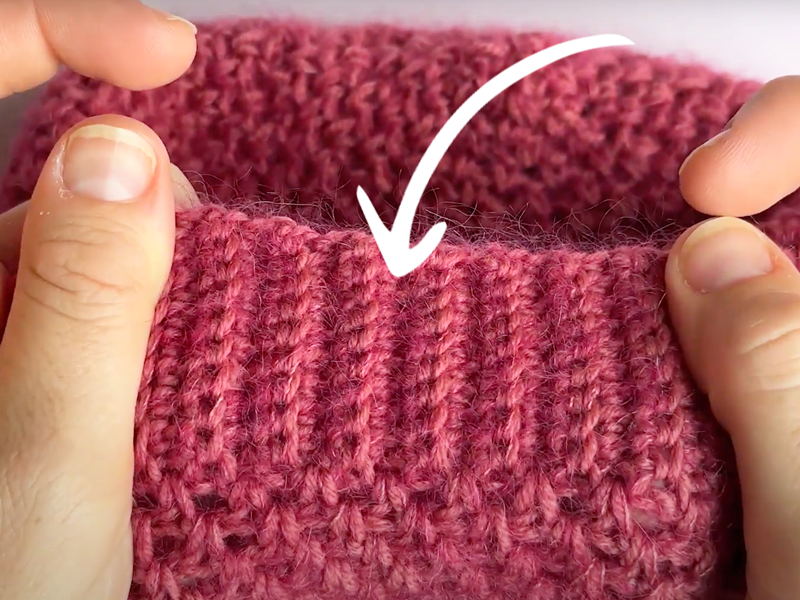
The Crochet Rib Stitch is a versatile and unique stitch known for its ability to create a stretchy and ribbed pattern, making it an ideal choice for items that require an elastic texture and snug fit. The stitch is particularly perfect for crafting collars and cuffs on garments, as it provides both flexibility and a comfortable fit.
If you're considering a crochet project that calls for a stretchable fabric with a textured look, such as sweaters, beanies, or even cozy socks, the crochet rib stitch is an excellent option to explore.
Customizing Your Crochet Ribbing
Crochet ribbing can be created using different types of stitches, but the most common stitch used is the single crochet stitch (which is also the one we do in this tutorial).
However, you can also experiment with other stitches like half double crochet, double crochet, or front post/back post stitches to achieve different ribbing patterns. Whether you're a beginner or an experienced crocheter, learning how to crochet ribbing opens up a world of possibilities for adding texture and dimension to your creations.
Crochet Ribbing Tutorial
Are you ready to dive into ribbing? You will love the stretchy result!
Skill level: Beginner.
Supplies: Yarn and crochet hook!
Crochet Techniques to Know First
Crochet Ribbing is a very simple crochet stitch pattern. However, before you start this tutorial make sure you know these basic techniques:
- Chain (ch): Yarn over the hook, pull the hook through the loop to create a chain.
- Single Crochet (sc): Insert the hook into the indicated stitch or space, yarn over, pull the loop through the stitch, yarn over, pull the loop through both loops on the hook.
- Back Loop Only (blo): Insert the hook into the back loop only.
Video Guide: How to Crochet Rib Stitch
In the video below, we show you how to do the single crochet ribbing, used in the Ivy Beanie pattern. You will master this pattern in no time!
Video tip! Click on “Settings” (the little gear under the video ⚙) to change the language of the subtitles. You can also adjust the speed if you need to rewatch the technique at a slower pace.
NOTE: In the video, we start off by chaining 10. This is for a size XS/S. For size M/L, chain 11.
Get the pattern here: Ivy - Beanie
Step by Step: How to Crochet Ribbing
- Start by chaining 10 and turn on the last chain.
- Insert the crochet hook in the 9th chain and make a single crochet (sc).
- Continue to make a sc in each of the following stitches (9 in total).
- When you get to the end of the row, chain 1 and turn your work.
- Insert the crochet hook in the back loop and crochet a sc.
- Continue working back and forth in sc through the black loop only. Each row is turned on 1 chain.
Keep working until your piece reaches the desired length.
3 Tips for Crochet Ribbing
- Practice tension control: Maintaining consistent tension throughout your work will ensure that your ribbing looks neat and even.
- Experiment with different stitch combinations: While single crochet is the most common stitch for ribbing, you can also try other stitches like half double crochet or front post/back post stitches to create different ribbing patterns.
- Use the right hook size: Choosing the correct hook size recommended on the yarn label will help you achieve the desired gauge and ensure that your ribbing has the right amount of stretch.
It’s as simple as this! You’re all set to add a stylish and stretchy ribbing to your projects. Happy crocheting!
