Are you ready to shine bright in the #BeYourOwnStarCAL? 🌟 Let Krisztina from K.A.M.E. Crochet walk you through the prep steps so you can kick off this project with confidence!
Our next project, #BeYourOwnStarCAL, is just around the corner, and we can’t wait to crochet along with you and Krisztina from K.A.M.E. Crochet! 🤗
Oh dear! Haven’t grabbed your kit yet? You can find it HERE.
Also, don’t forget to sign up to have the pattern delivered straight to your inbox when it’s ready!
From the US? Sign up here ➜
From the UK? Sign up here ➜
From Europe? Sign up here ➜
There’s nothing like the excitement of starting a brand-new crochet project! It’s tempting to dive right in, but trust us—taking a little time to prepare will make all the difference in getting a result you’ll love.
In this blog post, Krisztina will guide you through three essential steps to prepare:
✅ Gauge swatch & stitch consistency – to ensure your shawl turns out perfect
✅ Practice key stitches & techniques – so you feel confident from the start
✅ Gather your supplies – so you’re ready to dive in on day one
Grab your hook and yarn—Krisztina’s got all the tips you need for a smooth start! 💙
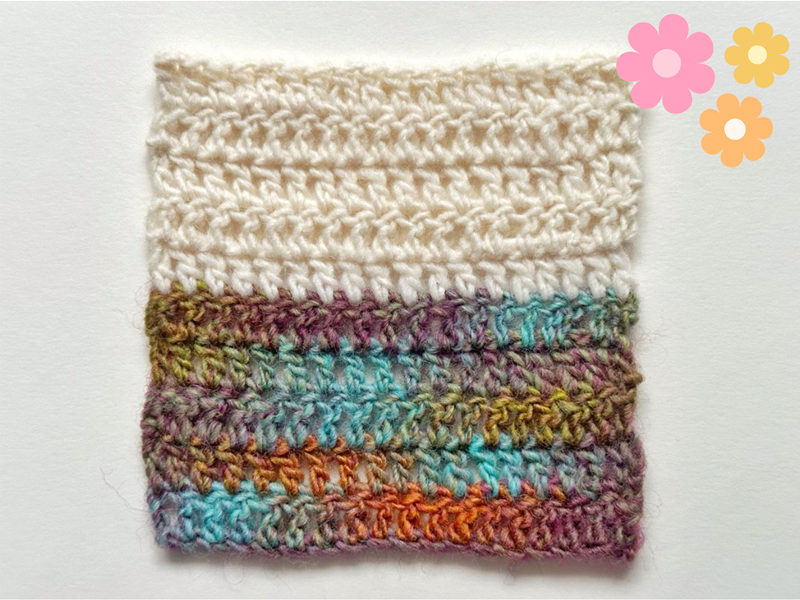
1. Make a swatch & check your gauge
Gauge is the secret to a perfectly sized shawl! Your stitch tension affects both the final dimensions and how much yarn you’ll need. Taking the time to make a gauge swatch ensures you’ll love the result—and helps prevent running out of yarn halfway through.
Krisztina suggests making a gauge swatch as soon as your kit arrives.
How to check your gauge
🔹 Crochet a swatch using double crochet stitches (US terms). We suggest using a 4.00 mm hook.
🔹 Work 5 rows with each yarn (for a total of 10 rows).
🔹 Your gauge should be 18 double crochet stitches x 10 rows = 10 x 10 cm (before blocking).
👆 Make sure to test your gauge with both CAL yarns separately.
Need to adjust your gauge?
- If your swatch is too large, try a smaller hook.
- If it’s too small, go up a hook size.
Maintain even tension
Since the yarn in this CAL varies in thickness, keeping a steady tension is key. Krisztina suggests practicing ahead of time to prevent stitching too tightly or too loosely as the yarn changes. This helps ensure you don’t run out of yarn before finishing!
Tip! After making your swatch, unravel it to ensure you have enough yarn for the project.
2. Get comfortable with the stitches
The Be Your Own Star shawl is packed with beautiful textures and details, but don’t worry—you don’t need to be an expert to join in! Krisztina will walk you through the entire project with step-by-step video tutorials. That said, practicing a few key stitches ahead of time will help you feel more confident—especially if you're still building your crochet skills.
💡 Tip from Krisztina: “It’s always a good idea to prepare before the CAL starts. The pattern includes techniques beyond basic stitches. They’re not super difficult, but you’ll feel much more confident if you’ve practiced them beforehand.”
Stitches to practice
Please note: All stitches are in US terms.
🌟 Single Crochet – A simple, sturdy stitch that forms the foundation for many patterns.
🌟 Half Double Crochet – A versatile stitch that adds a bit more height than single crochet while maintaining a soft texture.
🌟 Double Crochet – A taller stitch that creates a looser, more flexible fabric.
🌟 Treble Crochet – An even taller stitch, perfect for adding drape and openness to your work.
🌟 Popcorn Stitch – Adds fun, bumpy texture to the shawl.
🌟 Puff Stitch – Creates soft and textured sections.
🌟 Picot Stitch – A decorative edging stitch that adds delicate, lacy details.
🌟 Standing Double Crochet – Provides a smooth, seamless way to start new rows without slip stitches or chains.
🌟 Extended Front and Back Post Double Crochet – Adds depth and texture while creating a stretchy, flexible fabric.
🌟 3 Double Crochet Cluster Stitches – A grouped stitch technique that creates dimension and structure in your pattern.
💡 Tip from Krisztina: "Try each stitch a few times so you get comfortable with them. When I was learning, I would always watch tutorials or look up videos—it makes a huge difference when you already know what to expect!”
Psst! Krisztina shares more about the project in this blog post 🌼⭐
3. Get your crochet supplies ready
Before the CAL begins, take a moment to gather all your essential tools. That way, when the first part of the pattern drops, you can jump right in without any delays!
✔ Yarn – Use the CAL kit yarn, carefully chosen for the perfect drape and color transitions.
✔ Hook – Not included in the kit. We recommend a 4 mm hook (G/6 or UK size 8), but pick the size that gives you the right gauge. Also, choose a hook that feels comfortable to work with.
✔ Stitch markers – Great for keeping track of stitches and pattern repeats.
✔ Scissor & needle – For trimming and weaving in ends neatly.
✔ Wool wash (optional) – A gentle wash will make your finished shawl extra soft.
✔ Blocking mats & T-pins (optional) – Helps shape and stretch the shawl to its final dimensions.
You're ready to crochet! 🥳
Now, all that’s left is to count down to March 19th… We hope you’re just as excited as we are! ✨
Have you signed up yet? Don’t miss out—sign up, and we’ll deliver the pattern parts straight to your inbox when they’re ready! 💌
From the US? Sign up here ➜
From the UK? Sign up here ➜
From Europe? Sign up here ➜
Got questions or want to share your prep progress? Join our Make-Along Facebook group and connect with fellow crocheters!
We can’t wait to see your work-in-progress—and of course, your stunning finished shawls! 🧶💫
Happy Crocheting!
With love,
💙 Hobbii & Krisztina