Fall is starting to show its colors, and activities with the kids are moving indoors. To many, this means an increase in sedentary creativity, which is why I want to show you my favorite yarn activities for kids in this blog post.
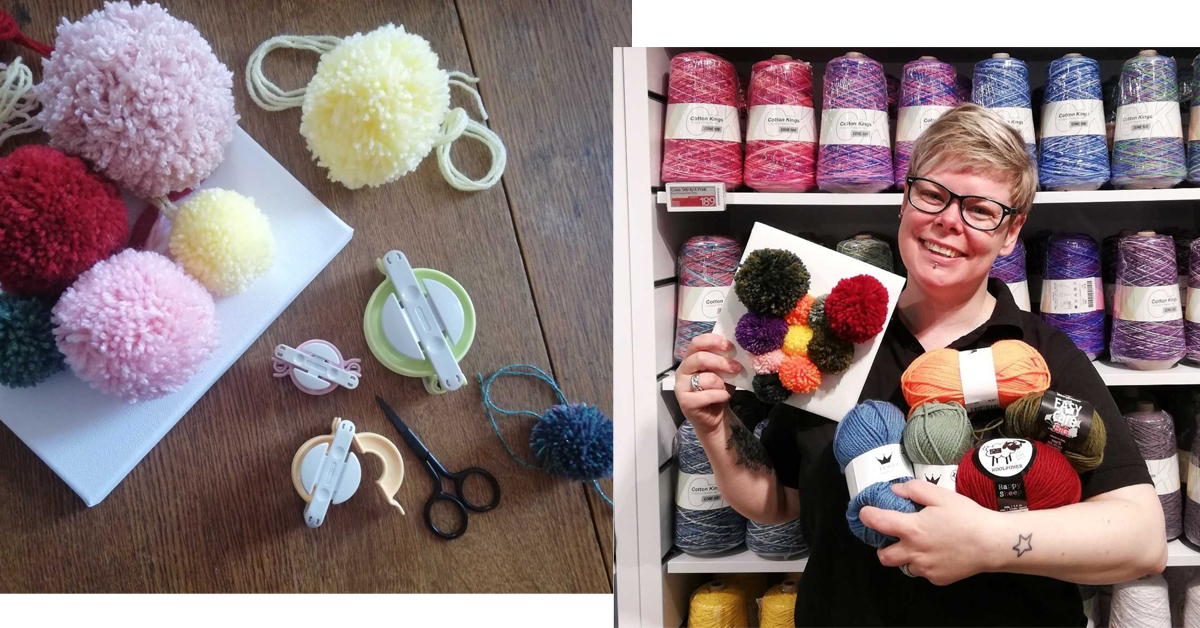
Pom-pom paintings
A pom-pom painting is something those small hands can spend many hours on. They challenge the children’s motor skills and sense of color while they’re also super simple to make - and it gives you a chance to use some of the leftover yarn you have lying around 😉
Materials
- Lots of yarn (acrylic, wool, and wool mixes are best)
- Pom-pom makers
- Canvas (in the size of your choice, but I think that a canvas of approximately 8”x 8” (20x20 cm) is a good and manageable size for the little ones)
- A good pair of scissors
- Glue gun and glue sticks
Instructions
The process is pretty straightforward. You just need to mass produce pom-poms until you feel sick - or at least until you think you have enough. You can plan out the motif first, but it’s also fun to just make a bunch of pom-poms in your favorite colors and decide on the motif afterward - it’s totally up to you 😊
The pom-poms are made in the classic way we all learned when we were little with two cardboard discs held against each other, but if you want to do yourself and the small hands a favor, then you can invest in some pom-pom makers. They make it really easy to wind up the yarn and can be closed to make sure that the yarn doesn’t slip if you’re interrupted - and they make almost perfect pom-poms even on the very first try. You can see how they work right here.
When you think you have enough, it’s time to make the painting, and you probably want an adult in charge at this point. Because it’s time to get out the glue gun, and those get very hot and can be a little hard to handle, but the child can easily be in charge of what the finished painting should look like. Just ask them to show you where to put the pom-poms, and everything will be fine and dandy.
Finger knitting
Finger knitting is a classic and can be made with even the smallest hands if they’re just shown how to do it. Maybe you tried it yourself when you were a kid? I can tell you that I spent hours and hours finger knitting back then.
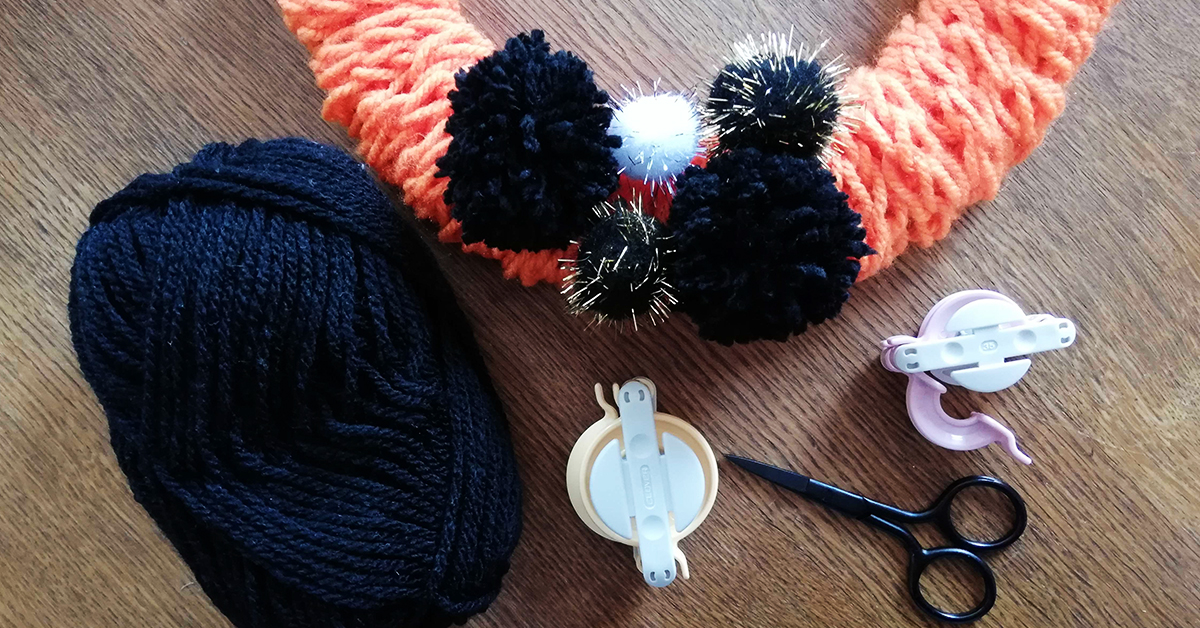
But I never managed to make anything other than a long sausage, and even though the children will be entertained for some time, it’s just a little more fun if you actually get a useful end product out of it. That’s why I suggest you make a Fall or Halloween wreath - or maybe even a Christmas wreath. It’s never too early, right? 😉
Materials
- Lots of yarn (any yarn can be used, but I prefer medium thick yarn made from either acrylic or wool)
- Fingers
- A wreath made from cardboard or polystyrene
- Glue gun
- Maybe some pom-poms or other decorations
Instructions
Start by wrapping the yarn end around your thumb a couple of times and then work the yarn behind your index finger, in front of your middle finger, behind your ring finger, and then around your little finger so that the yarn is now behind your little finger. Then work the yarn back like so: in front of the ring finger, behind your middle finger, and in front of your index finger. Now you have your finger knitting foundation, and you’re ready to start knitting.
- Wrap the yarn around your hand (first behind and then over the palm of your hand)
- Work the loop that’s around your index finger up over the loose strand of yarn and over to the back of the finger, continue like this for the remaining three fingers.
Now you’ve knit your first row. Now you just need to repeat the two steps until you (or the child) don’t want to anymore or you think that the project is long enough. When you’ve knit for a little while, you can start pulling on the end you’ve wrapped around your thumb, then the finger knitting will really come into its own.
If you want to make a wreath, now’s the time to get out the glue gun. Glue the end of the knitting to the back of the wreath and wrap the knitting around the wreath until it’s completely covered. As you work, remember to attach the knitting to the back of the wreath with a little glue once in a while to make sure that it doesn’t move. You could also add a couple of pom-poms or other decorations you think would look nice.
Weaving
Another classic that’s always fun for the little ones - and it’s almost like painting with yarn. And it’s an amazing way to get rid of your leftovers.
When you’re done weaving, you can attach it to some pretty sticks you’ve found in the forest and make a wall hanging. Those are extremely popular right now. Just remember that the sticks need to be completely dry.
Materials
- Piece of cardboard in the size of your choice - but for smaller children it’s best if it’s not too big
- Ruler
- Pencil
- Scissors
- Cotton yarn
- Lots of yarn - anything is usable! Thick, thin, fluffy yarn, anything 🧶
- Needle with a large eye
- Maybe some sticks
Instructions
On the top and bottom of the cardboard, draw lines approx. 0,5” apart from side to side. Cut grooves following your lines so that the grooves are approx. 0,5” deep. Now you need to attach the cotton string to the back of the cardboard with a piece of tape and work it through the first groove on the top and the first groove on the bottom. Work the yarn behind the cardboard and over to the next groove at the top, around to the front, and down to the corresponding groove at the bottom. Continue like this until you have no more grooves left and attach the end to the back with tape. Your weave should now look like this: The string should be straight on the front and slightly crooked on the back.
To make things easier for yourself, you can lift the strings from the cardboard by putting a pencil under the strings.
And now you’re ready to start weaving!
Start weaving by alternately working the yarn over and under the cotton string from one side to the other. When you work the yarn back again, you need to make sure that you do it the opposite way of what you did before - meaning, you need to work the yarn under the cotton string if the yarn in the previous row goes over the string, and over if the yarn on the previous row goes under the string. Continue like this until you run out of space or you think the project is long enough.
I changed colors at the sides and left some long ends that I could weave in afterward. When I was to start under the cotton string, I made sure to work the weaving strand around the cotton string to start with, to make sure that I can weave in the end properly.
Then cut the cotton strings in the middle on the back of your project. If you want to make your woven piece into a wall hanging, you need to tie the strings around the sticks. If not, you just need to tie the strings together to finish your work.
These were my suggestions for some cozy yarn activities that the whole family can do in the fall. I hope that you’ve enjoyed reading this post and that you found some inspiration for different kinds of yarn-fun for the kids. Have fun!
Love,
Eva


Leave a comment